
Q's ROTJ Build Begins

Re: Q's ROTJ Build Begins
Vac form looks really good. Keep up the good work, it's coming together nicely 

Re: Q's ROTJ Build Begins
wow, way to turn lemons into lemonade!
-
gmrhodes13

- Posts: 37
- Joined: Thu Feb 27, 2014 8:02 am
- TKID: 85421
- Location: Western Australia
Re: Q's ROTJ Build Begins
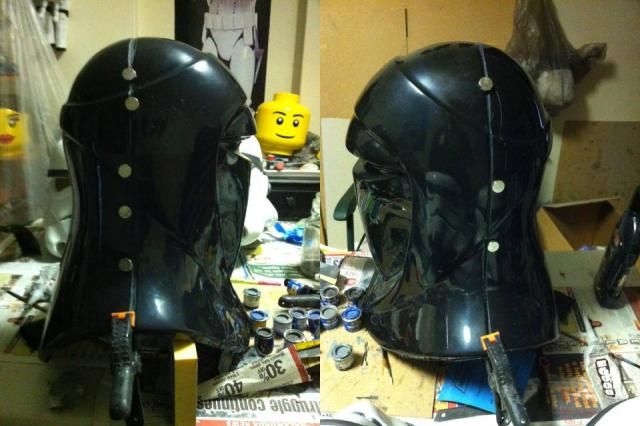
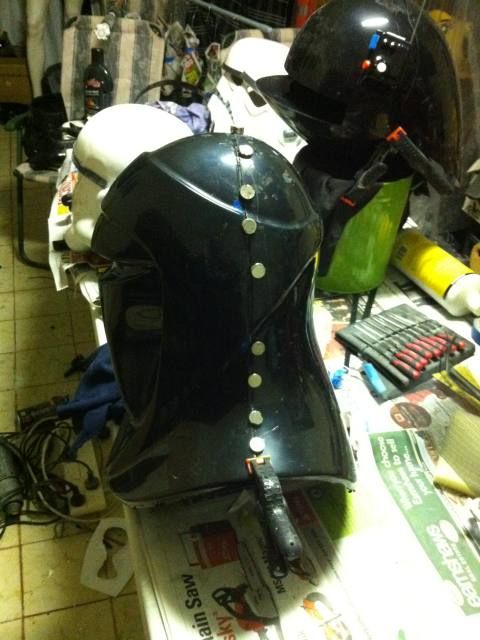
Going slowly with this as I'm only working on it between other jobs 
Some trimming done, I've left the recess on the back of the front section, this will fit under the back piece. Also cut another 5 mm off the rear piece to get rid of the curve left form vac forming, also leaves a small chanel for some bondo or ABS paste.
Some trimming done, I've left the recess on the back of the front section, this will fit under the back piece. Also cut another 5 mm off the rear piece to get rid of the curve left form vac forming, also leaves a small chanel for some bondo or ABS paste.

-
gmrhodes13
- Posts: 37
- Joined: Thu Feb 27, 2014 8:02 am
- TKID: 85421
- Location: Western Australia
-
gmrhodes13
- Posts: 37
- Joined: Thu Feb 27, 2014 8:02 am
- TKID: 85421
- Location: Western Australia
Re: Q's ROTJ Build Begins
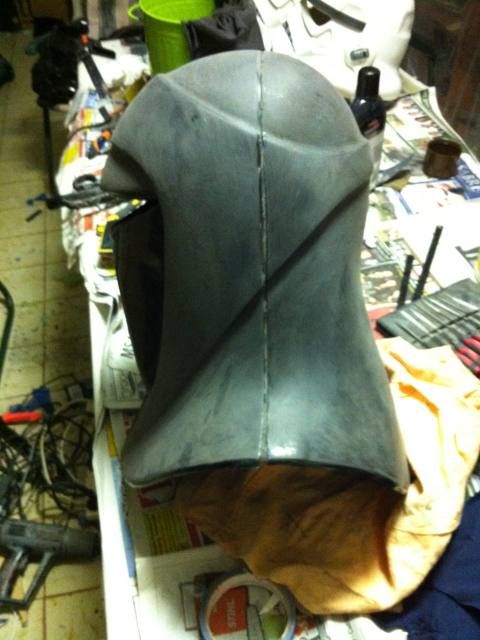
Glue dry, magnets off, sanded all over to get rid of any glue residue and also give bondo and primer something to adhere too.
-
gmrhodes13
- Posts: 37
- Joined: Thu Feb 27, 2014 8:02 am
- TKID: 85421
- Location: Western Australia
Re: Q's ROTJ Build Begins
Looking really good 
-
gmrhodes13
- Posts: 37
- Joined: Thu Feb 27, 2014 8:02 am
- TKID: 85421
- Location: Western Australia
Re: Q's ROTJ Build Begins
Thanks budGruff wrote:Looking really good
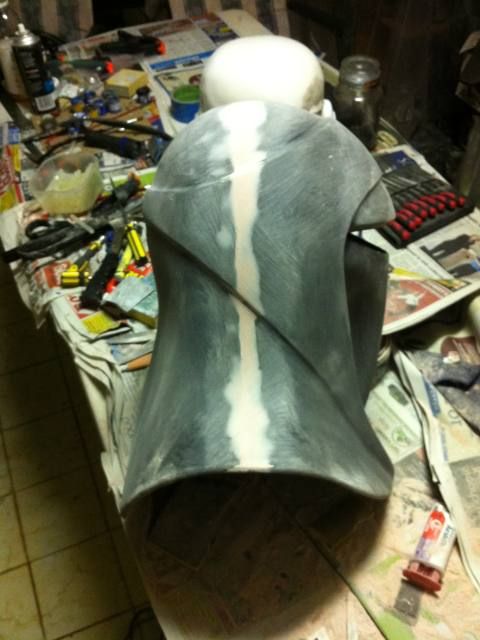
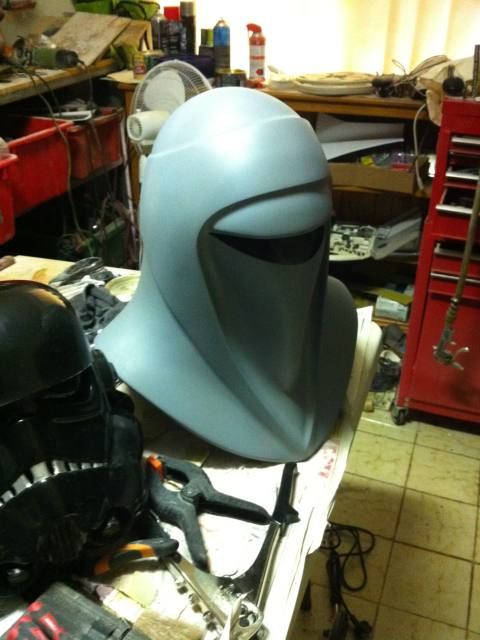
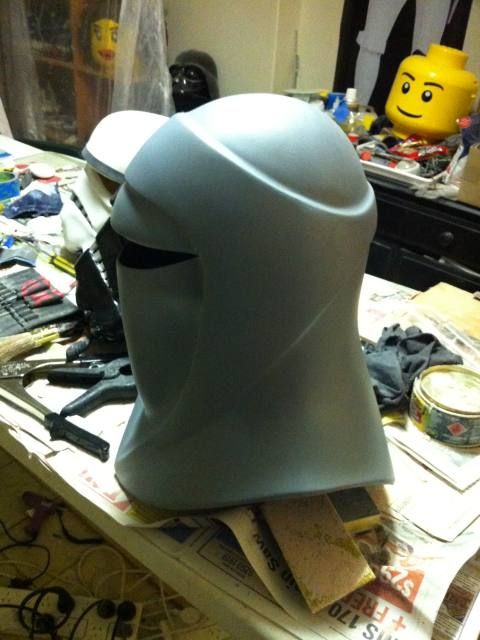
Now with a coat of primer to see how it's looking, a few pin holes to touch up then a few coats of primer/filler when the weather warms up.
Re: Q's ROTJ Build Begins
That is a sexy looking bucket
Re: Q's ROTJ Build Begins
Well done!!! It looks great!!! Have you tried it on yet to see if it fits and everything? You did a great job on it!
