Page 1 of 2
Kanos build, step by step.
Posted: Thu Jan 05, 2012 7:59 pm
by raven6056
This will be a photo-journal of my Kanos build. All criticism welcome!
Part 1.
Well, here we go... with my build now officially under way I had better get a thread up en running for it. This is my 1st build where 70% of the hard costume will be scratch built, bit daunting but im looking forward to it.
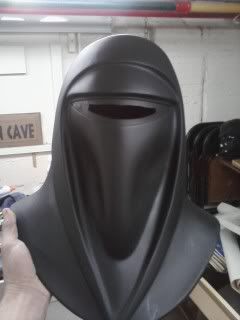
I have a don post bucket which i picked up over new years... color is faded and thus a full re-spray is in order. got a couple of coats of black primer on last night and will start the red over the weekend.

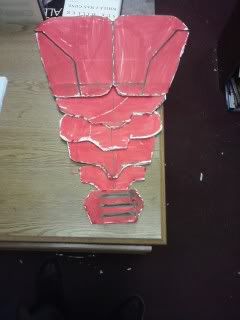
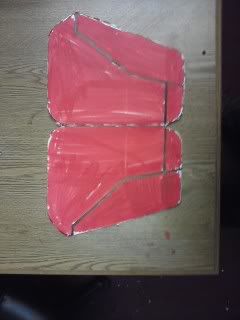
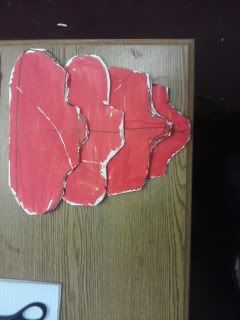
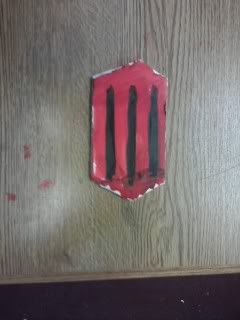
I have cut rough Templates of the chest armor out of 5mm plasti-card ... the rough templates will be built up with model putty and rubber matting till I have the forms that I can then use as mold templates.
The lobster abdominal plates will be fun... getting them to overlap evenly with a raised center ridge will a challenge!
PS>>> Has Anyone got pics of their Kanos Belt kit? The comic depictions are fine but shots of an actual completed belt kit would be a big help!
Re: Kanos build, step by step.
Posted: Thu Jan 05, 2012 8:28 pm
by stripes
Nice work so far... before you go further you'll probably want to cut out the visor area on the helmet so that it is the full visor though...
Re: Kanos build, step by step.
Posted: Thu Jan 05, 2012 8:41 pm
by raven6056
Thanks! Im on it... Hrrrrrm, Im going to need a few dark smoke lenses .
Re: Kanos build, step by step.
Posted: Thu Jan 05, 2012 11:07 pm
by JesterTDA
Yeah I was looking at the visor area. It looks almost taped from the inside (could be wrong). If not, if that small rectangle is the only opening it needs to be opened up. Other than that...it's looking great. Good luck with figuring out the lobster plates

Re: Kanos build, step by step.
Posted: Fri Jan 06, 2012 4:36 am
by LuciousTalvloinne
Re: Kanos build, step by step.
Posted: Fri Jan 06, 2012 3:23 pm
by raven6056
Its great to have a C.O who has complimentary computer skills.... thanks Boss!
Those pics of belt pouches are great... looks like three Small Clone belt boxes (one with a cut corner)... might have to drop Frank a line and see if he has any b-pull or c-pull belt kits left, think he has one up on 501st forums. I take it the tubular form is a standard droid-caller/comlink? I have a DH17 and holster from a fleet trooper build that has been on hold for over a year due to the Helmet caster having quit the hobby... (grrrrrr) . Is the Holster a SET design or will I be able to just cover my black leather holster with red pleather and get away with that?
Now, the Bucket is a standard Don-post... I followed orders and cut out the eye slits to full leaving a 2mm rim for lenses. Anyone got a Spare smoked/Black Lense? I cant use Red as it throws my vision out and gives me headaches.
One last question... The Forearm bracers depicted on the graphic are identical ... Can you use two Left bracers? thought the Right ought to be a different form and grey?
Re: Kanos build, step by step.
Posted: Fri Jan 06, 2012 9:19 pm
by Darth Skellington
I may be wrong, but I thought Kanos had two different arm bracers, or whatever they are called. I thought one was the plain red armor, while the other was metallic and had all the technical gadgets on it (commlink, etc). Carnor Jax had two matching armor pieces. At least, in Crimson Empire I, that's how it was.
See some reference pics at the bottom of this link:
http://www.flickr.com/photos/48811827@N ... 146353824/
Re: Kanos build, step by step.
Posted: Sat Jan 07, 2012 4:49 am
by LuciousTalvloinne
Yeah Kanos has two different ones. I just haven't Cadded up the other version.
Re: Kanos build, step by step.
Posted: Wed Jan 18, 2012 3:20 am
by Commander George
Well done! Keep up the good work!
Re: Kanos build, step by step.
Posted: Fri Aug 30, 2013 6:06 pm
by raven6056
so here we go again....
My Don post (Hens old lid) has got the treatment done to it:
Primed in black, ready for adding Mohawk.
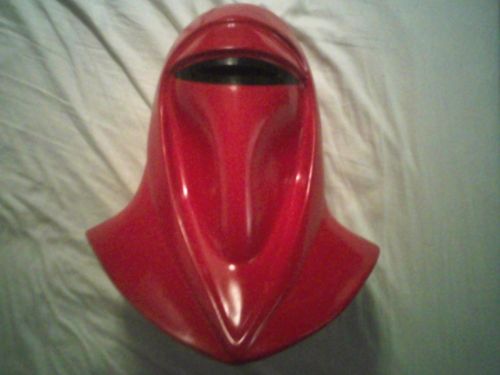
Base coats of "Apple Red"
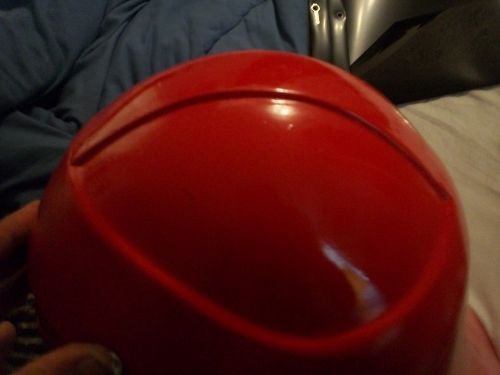
The modded Mohawk. I added a strip of balsa then coated it in flex paste, sanded and ... it works!
The Vembraces are going to be a lot of work... I cut up a few old plastic pots from the garden shed and set about sizing them up. Rivets were used to set the basic shape and I checked them out on my arms for curve, flair and fit.
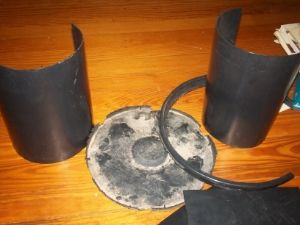
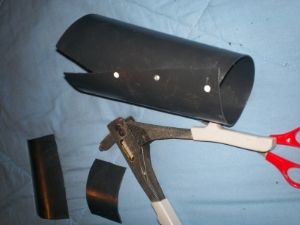
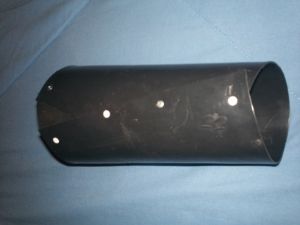
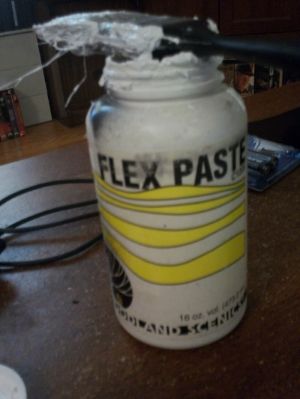
The fit and shape came out ok after the 5th attempt! thus that became my master for the 2nd left hand vambrace... (I tend to work on pairs at the same time... less chance of messing up!) . The two were then coated in my secret weapon .... FLEX PASTE! this stuff is great, plaster and latex mixed up in a pot and painted over in a series of coats getting thinner and thinner. You then sand it down and Viola! you get a piece of armor that looks and feels like rough coat PVC.

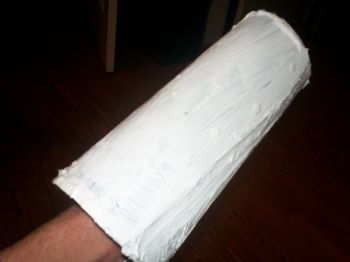
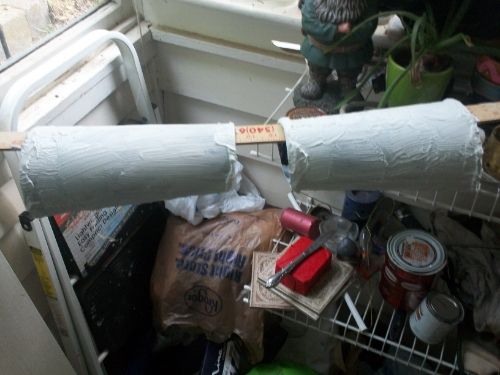
The Pair are now well under way. Note how I have left a much thicker "RIM" at the ends... this will sand down to form the rounded rim of the armor and once painted will be exactly the same to look at as a Vac molded piece.
It Takes about four Hours for the Junk to dry between coats at first... as the mix is thinned this reduces to two. Tonight I add a 2nd thick coat and tomorrow three thin coats.


