Page 1 of 9
silverBoyd's RotJ Guard WIP
Posted: Mon Oct 05, 2015 9:48 pm
by silverBoyd
Just received my RotJ Guard helmet (ABS kit) last week. Ordered it in late July and it arrived late September. So ready to get cutting on this. Currently I'm building an ATA TK helmet for a friend and will be finished by the end of the week. Then it's on to assembling this bad boy. This will be my 3rd 501st Legion build. Always wanted to do something from RotJ.
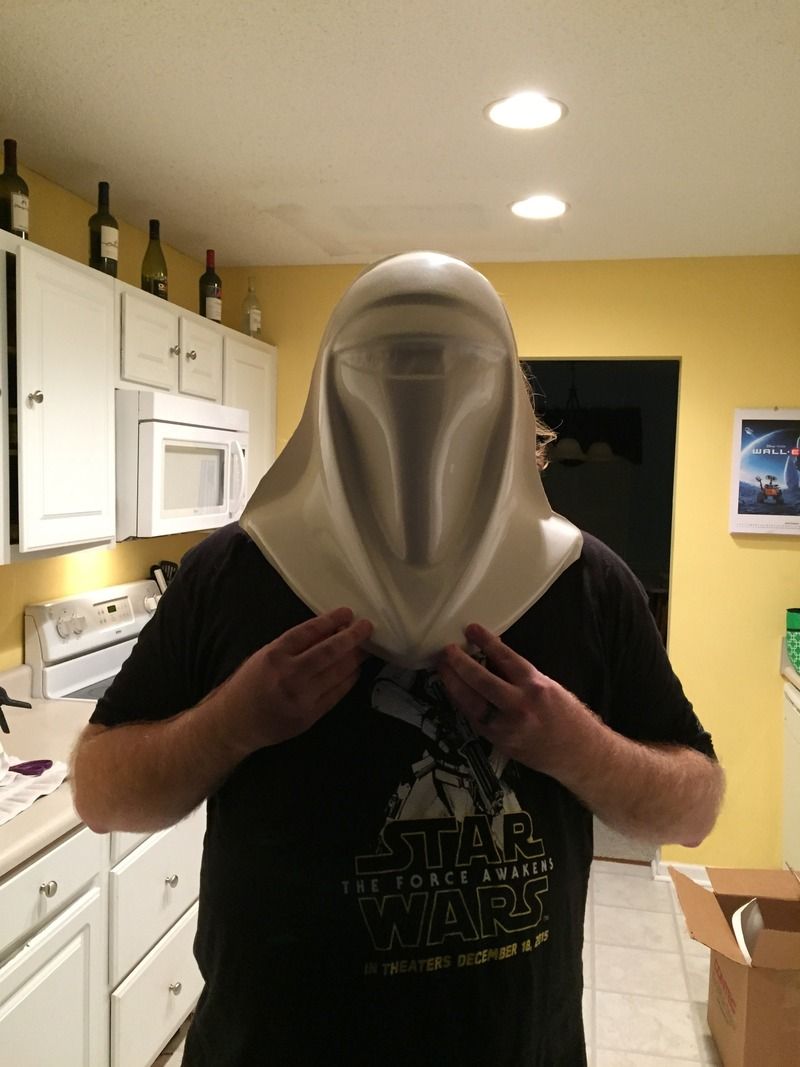
Of course I had to hold it up to my face when I took it out the box.
I have also started scouting my local fabric shops for the Velvet I'll need for making the Outer Robe

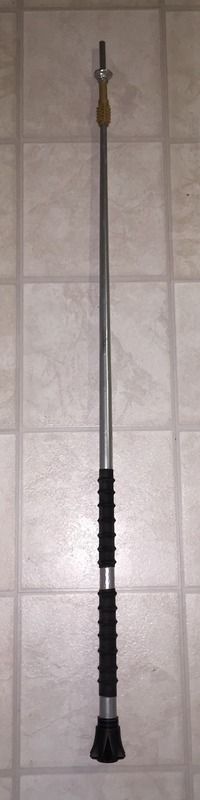
I have already built a Force Pike from scratch by smashing together a few builds on here along with some of my own techniques.

Re: silverBoyd's RotJ Guard WIP
Posted: Mon Oct 05, 2015 10:25 pm
by Sascha_Wilsing
Nice.
Go ahead.
Re: silverBoyd's RotJ Guard WIP
Posted: Mon Oct 12, 2015 8:11 pm
by BloodRayne
Awesome! seems you have quite a lot of materials now

Keep it up dude
Re: silverBoyd's RotJ Guard WIP
Posted: Mon Oct 26, 2015 8:47 pm
by silverBoyd
Re: silverBoyd's RotJ Guard WIP
Posted: Tue Oct 27, 2015 8:45 am
by Sascha_Wilsing
Great Idea. Please keep us informed about the work on the helmet.
Re: silverBoyd's RotJ Guard WIP
Posted: Sat Nov 28, 2015 9:42 pm
by silverBoyd
Re: silverBoyd's RotJ Guard WIP
Posted: Sat Nov 28, 2015 11:34 pm
by Sascha_Wilsing
Good job so far.

Re: silverBoyd's RotJ Guard WIP
Posted: Sat Dec 05, 2015 6:05 pm
by silverBoyd
Thanks for the compliments.
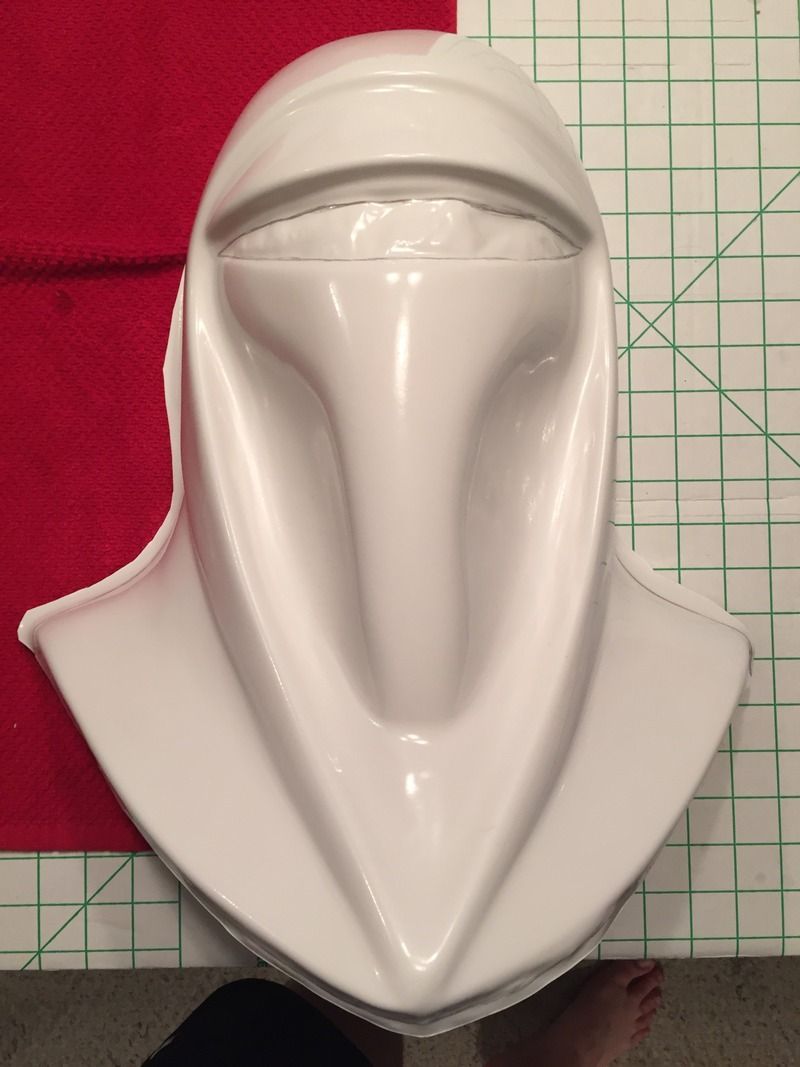
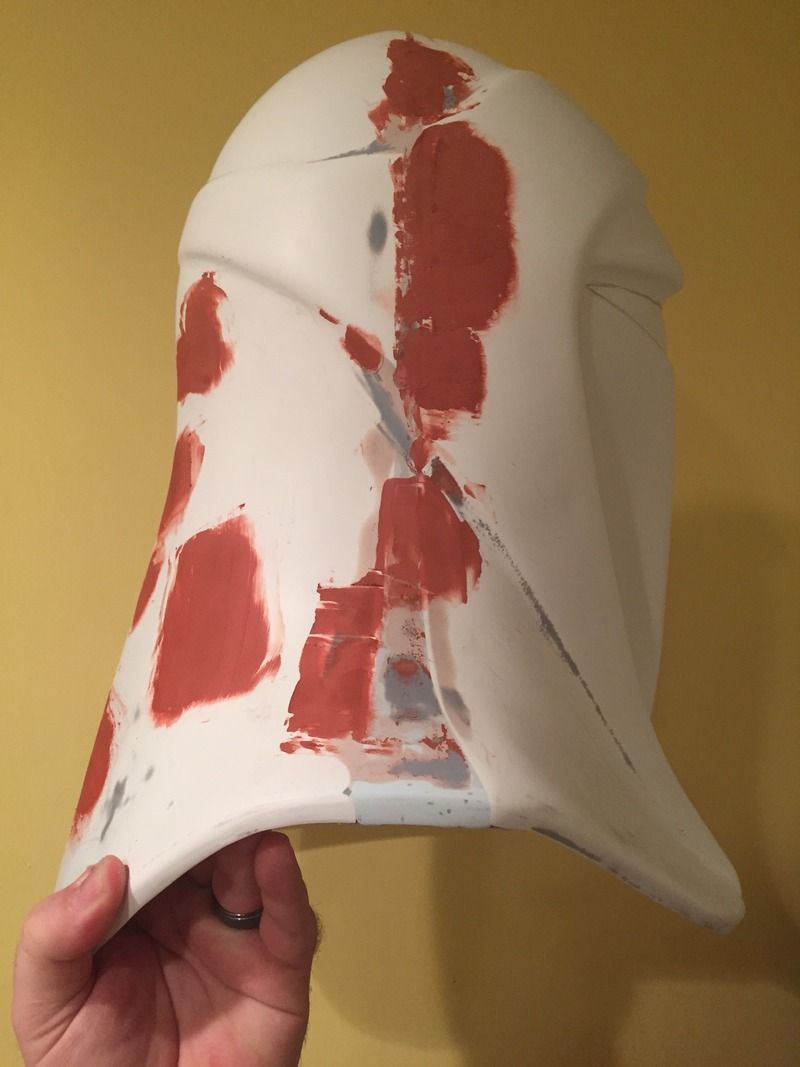
Started to sculpt the side scoop on one side of helmet this morning due to the way things lined up when I was sizing it to my head. Pretty easy fix. I applied the Loctite brand Epoxy Putty and sculpted in the detail to make it the proper shape. This stuff cures quickly. After it set, I sanded it and will smooth it out in the next process of utilizing spot putty to fill in divets, pin holes, uneven areas, etc.
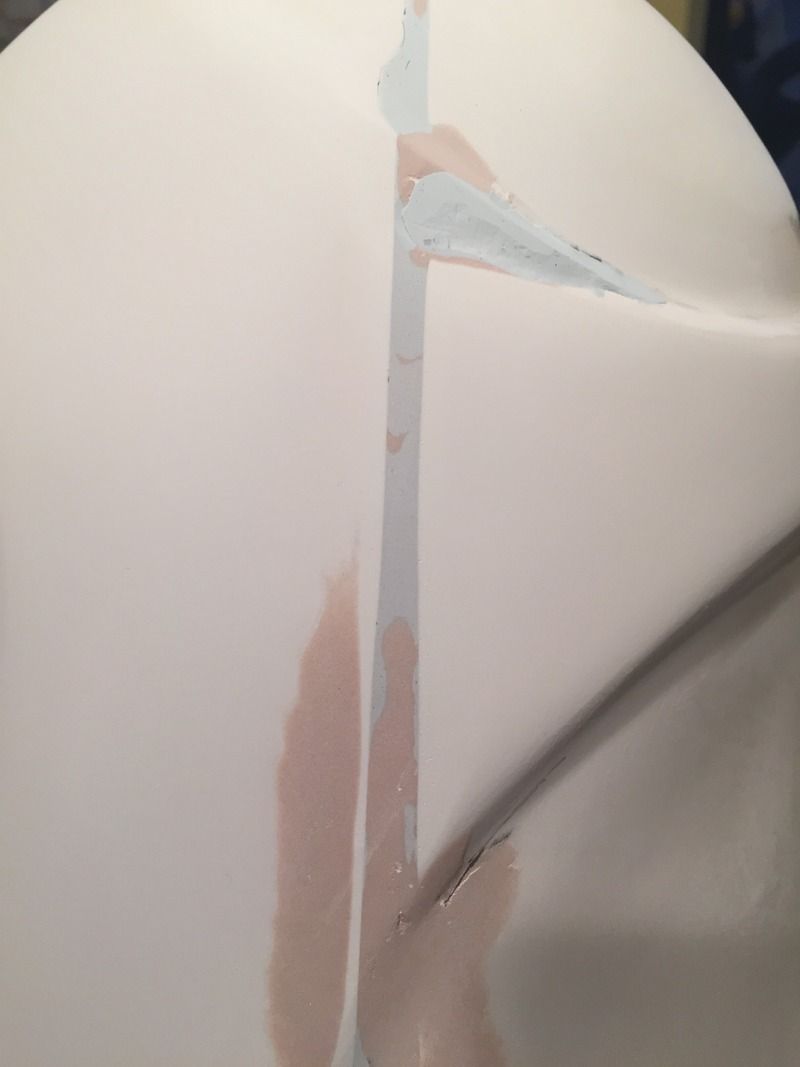
Although I'll be priming the entire helmet and spot filling any imperfections, I focused on the center "equator" of the helmet. I really want to focus on making the two halves as flawless as I can. Then I'll work on any other slight imperfections to the helmet. I used Grey Rustoleum Primer to help figure out where I needed to focus on working. Once the primer dried, I began sanding using 220 grit sandpaper.
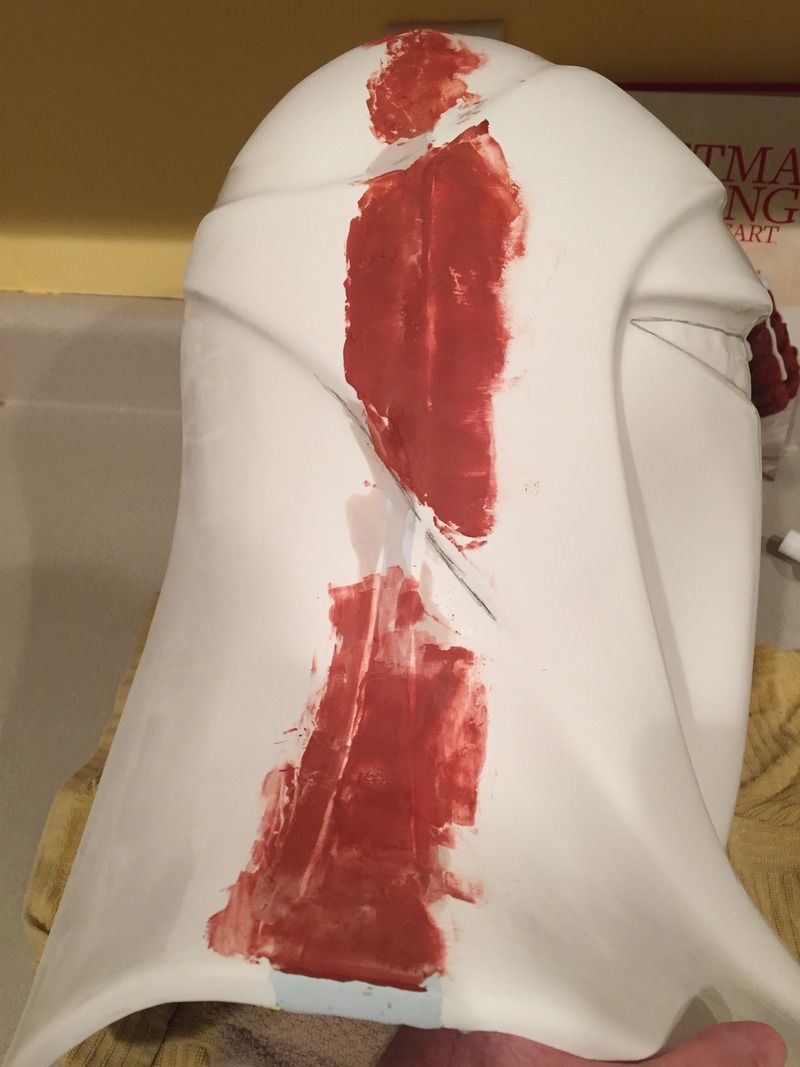

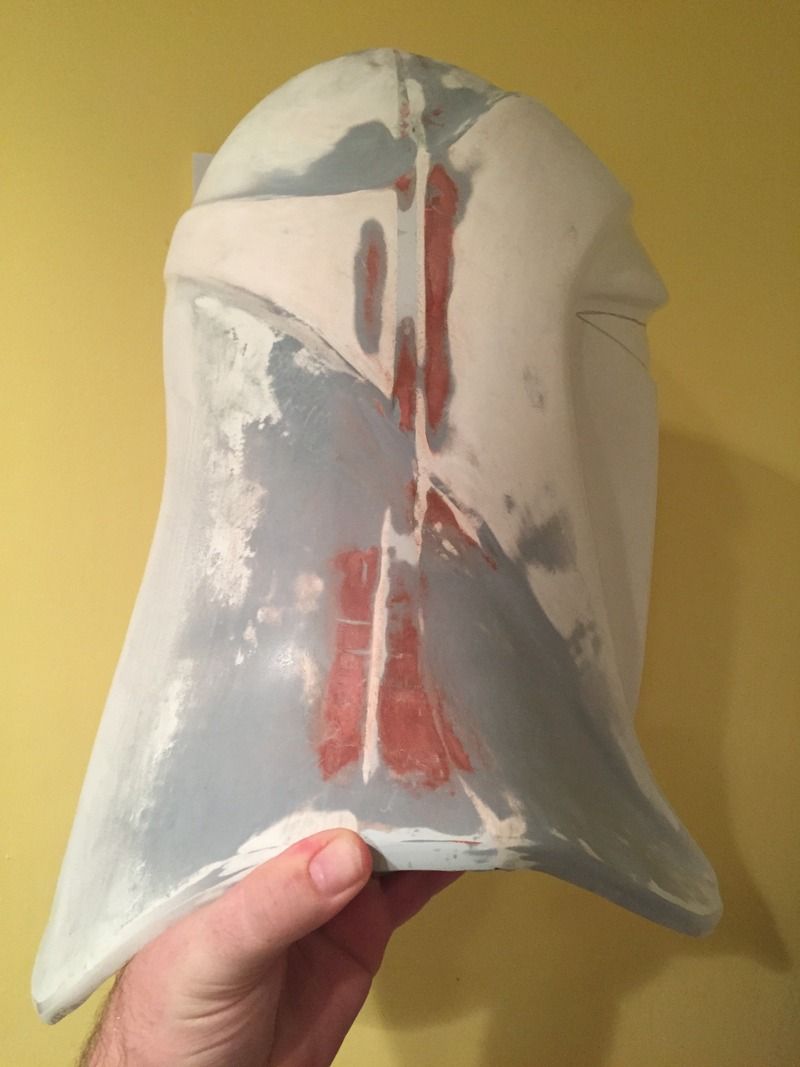
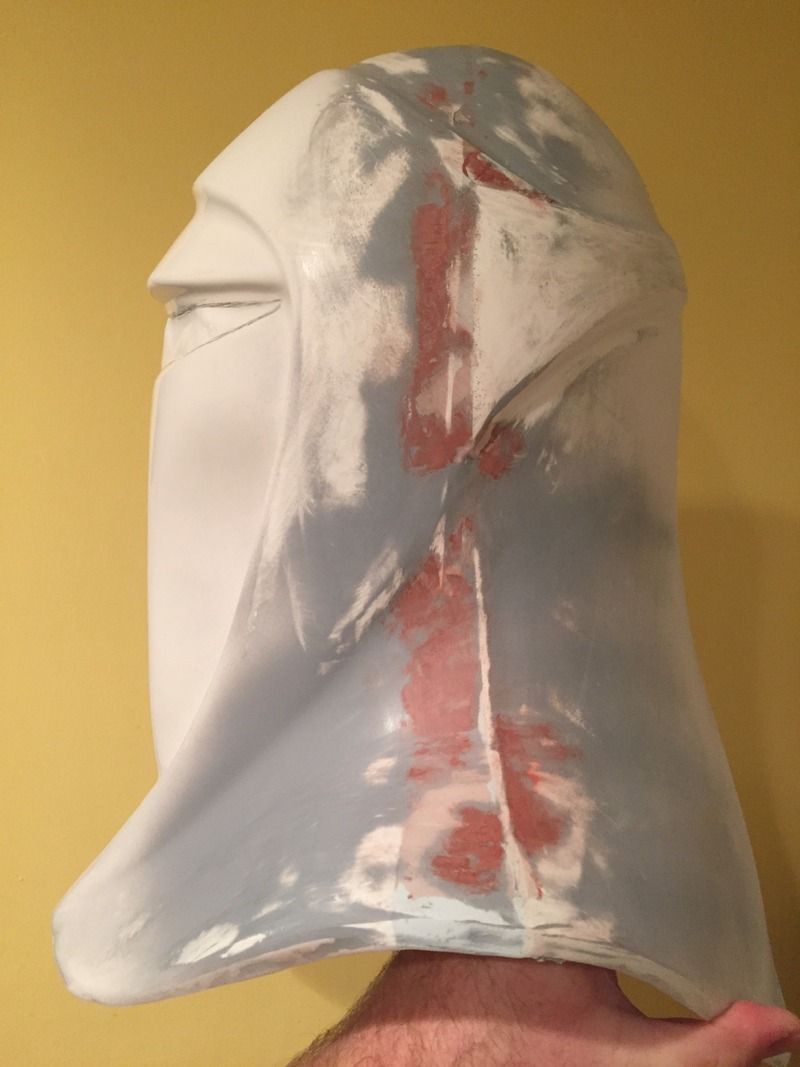
Tomorrow I will focus on the same process as I did today: spot fill, sand, spot fill, sand....etc. Except this time, I will begin wet sanding between using the spot putty filler and I will move onto using 400 grit sandpaper.
Re: silverBoyd's RotJ Guard WIP
Posted: Wed Dec 09, 2015 1:29 pm
by silverBoyd
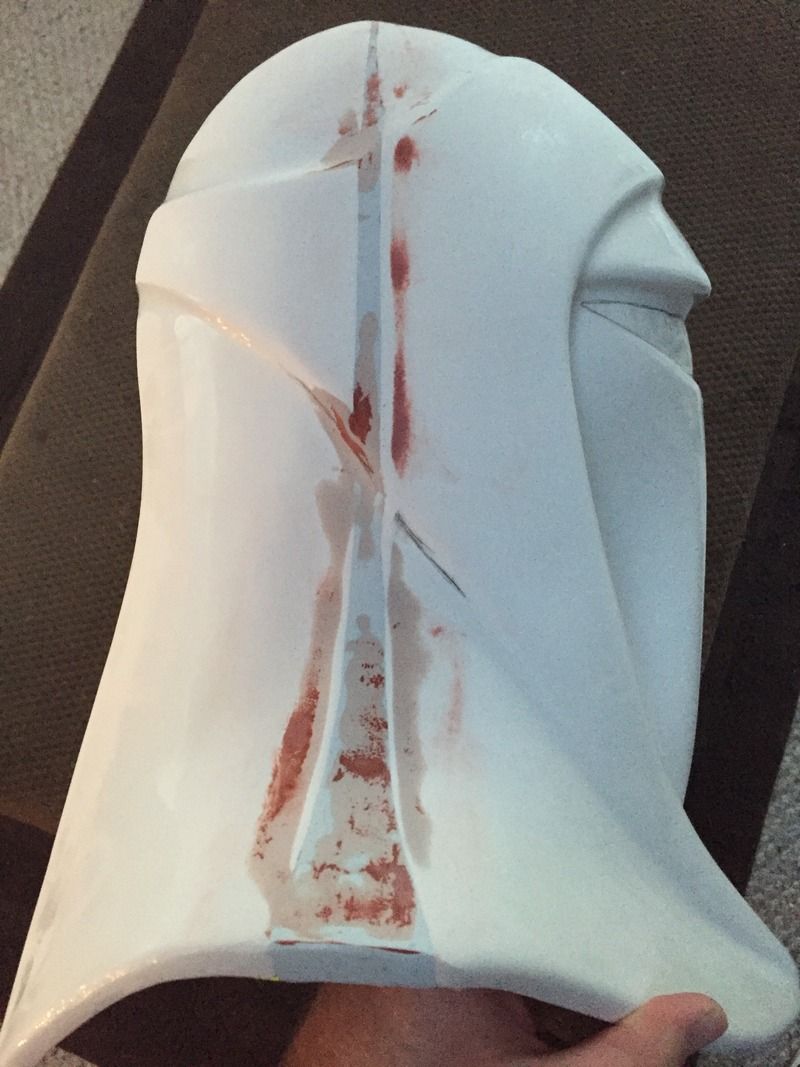
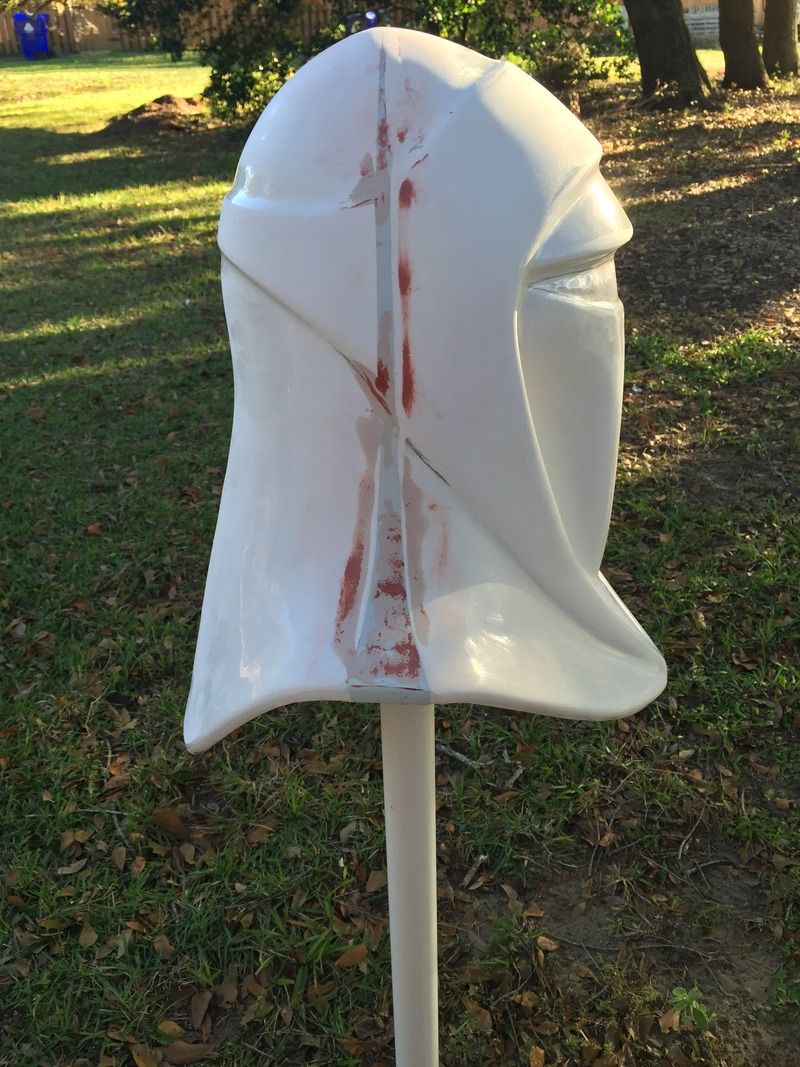
I did a 2nd pass over the entire helmet with more spot putty & 400-grit sandpaper. It's really getting smoothed out now. Last night I applied more spot filler over very small imperfections as well as a few slight "bumps" in the back of the helmet to try to smooth it out some. Now that's it's dry, I will begin utilizing 800-grit sandpaper all over to continue giving it a smooth finish. During this stage, I will also finally cut out the eye slit for the visor.
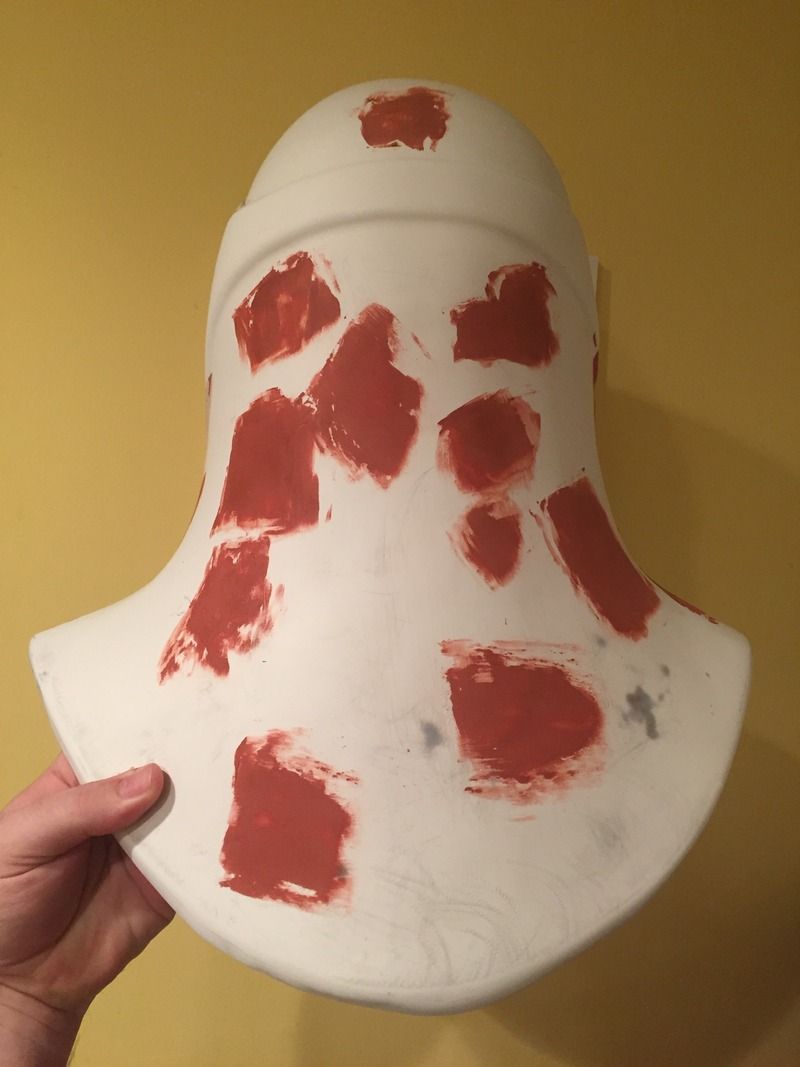
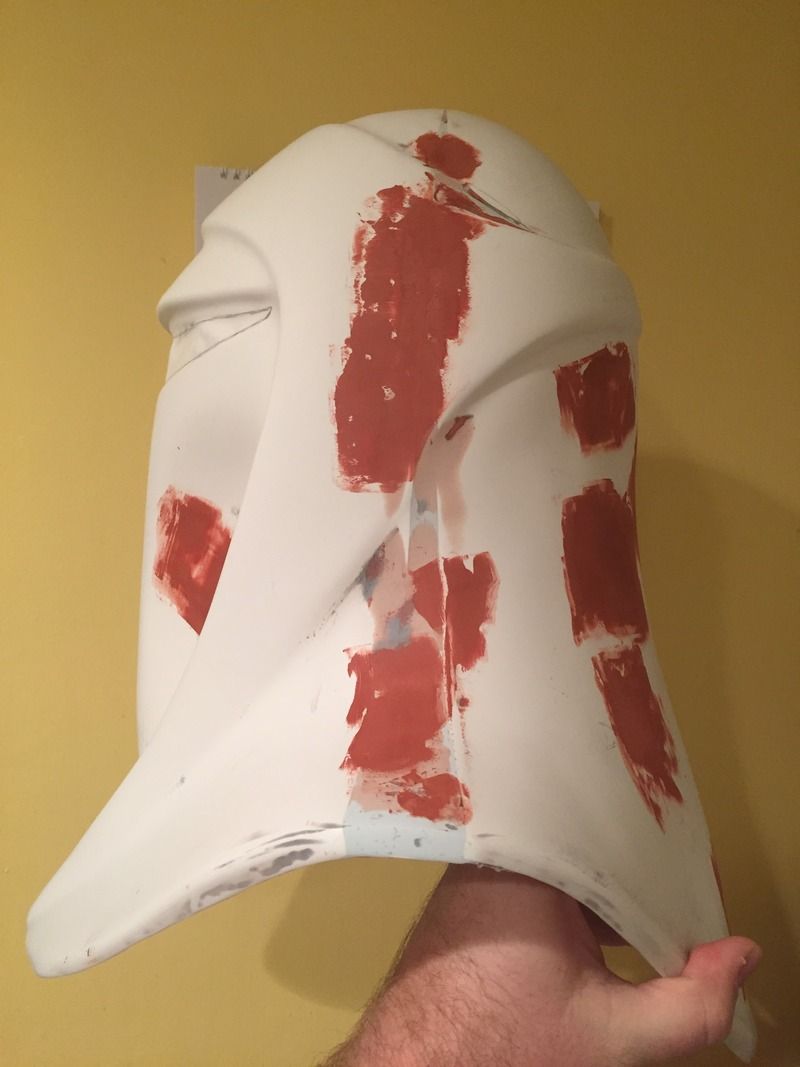
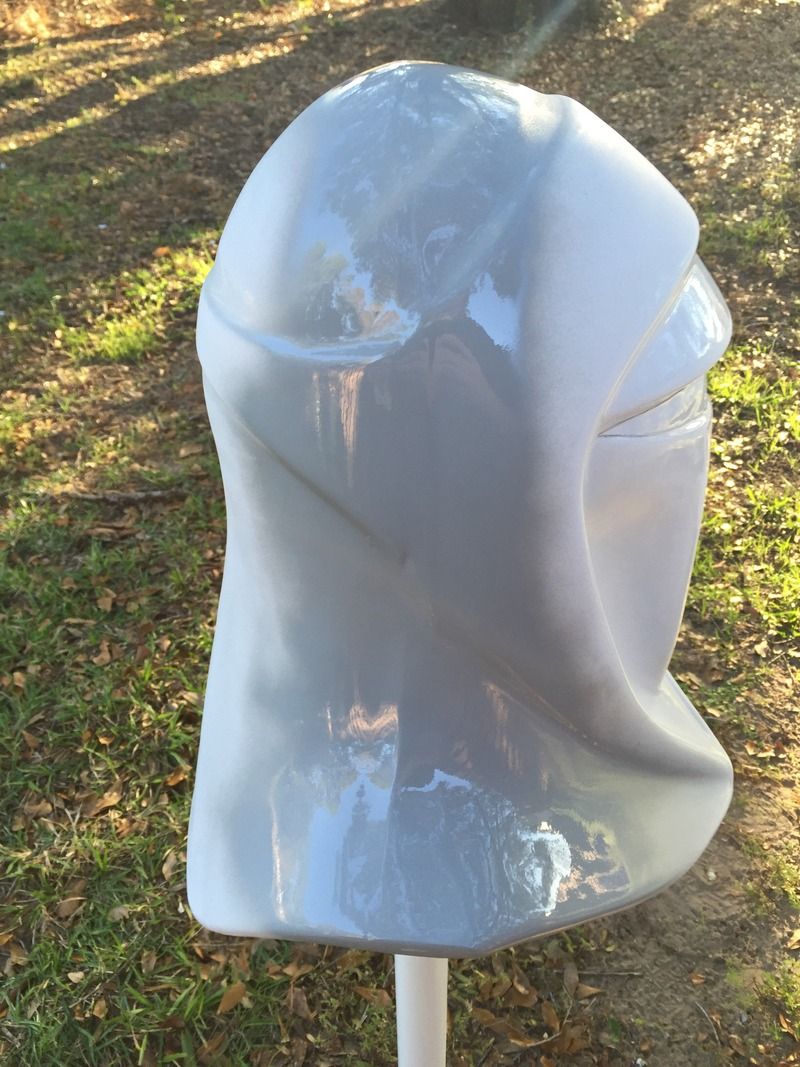
After the 800-grit sandpaper is finished with, this helmet is ready for its final white primer coat and then clear coating. After it is clear-coated, it will be sanded down with 2000-grit paper. and then the high-gloss automotive red paint (color-matched to the robes) will be applied.
Re: silverBoyd's RotJ Guard WIP
Posted: Thu Dec 10, 2015 10:18 am
by Sascha_Wilsing
This turns out great.


