Page 1 of 4
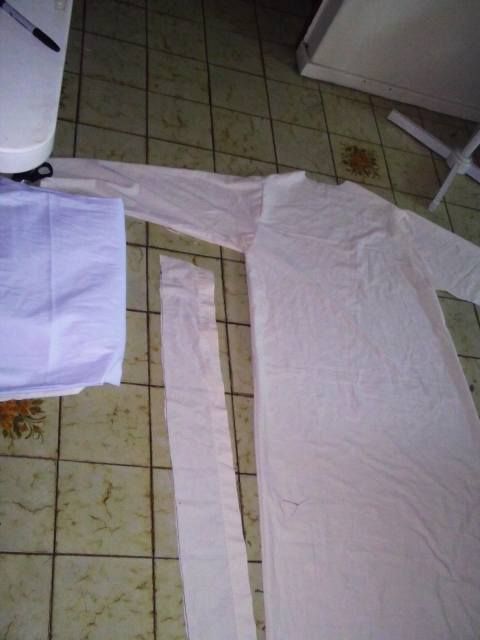
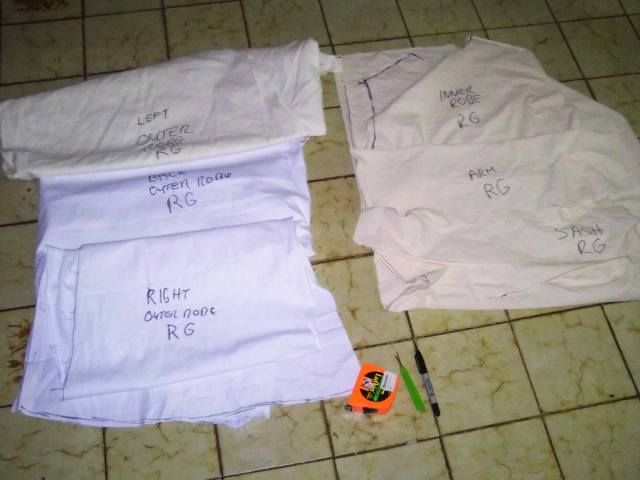
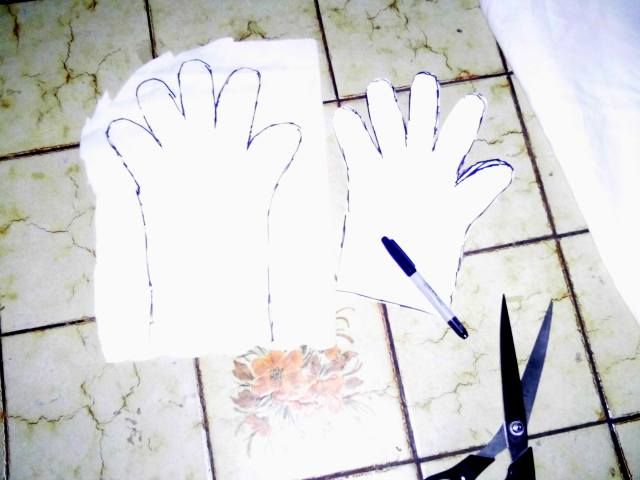
Q's ROTJ Build Begins
Posted: Wed Mar 05, 2014 9:49 pm
by gmrhodes13
Re: Q's ROTJ Build Begins
Posted: Wed Mar 05, 2014 11:12 pm
by stripes
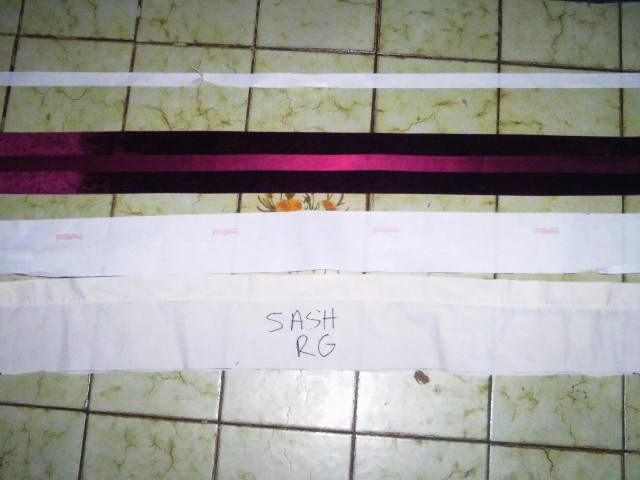
What sort of fabric is that? It looks like it is extremely shiny and not approvable...
Re: Q's ROTJ Build Begins
Posted: Wed Mar 05, 2014 11:58 pm
by gmrhodes13
stripes wrote:What sort of fabric is that? It looks like it is extremely shiny and not approvable...
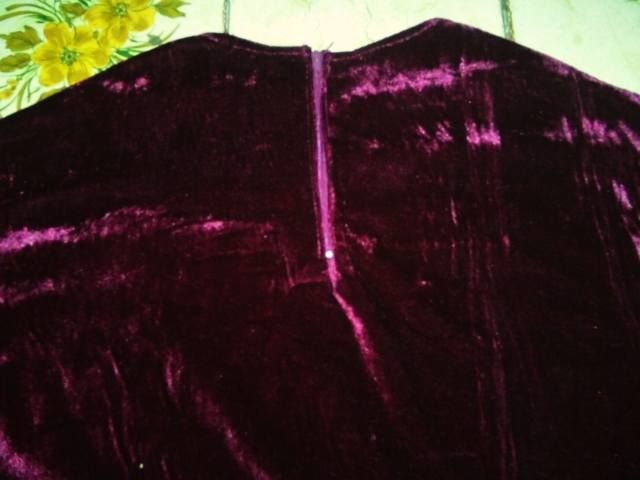
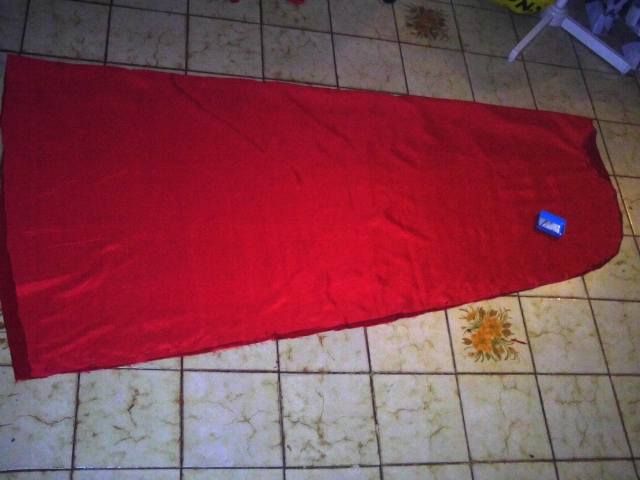
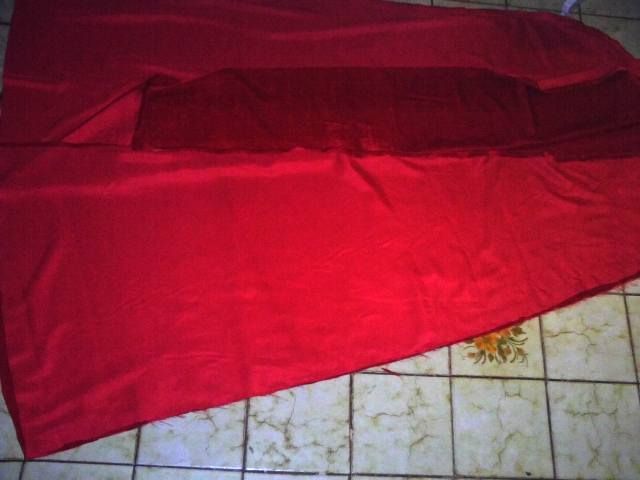
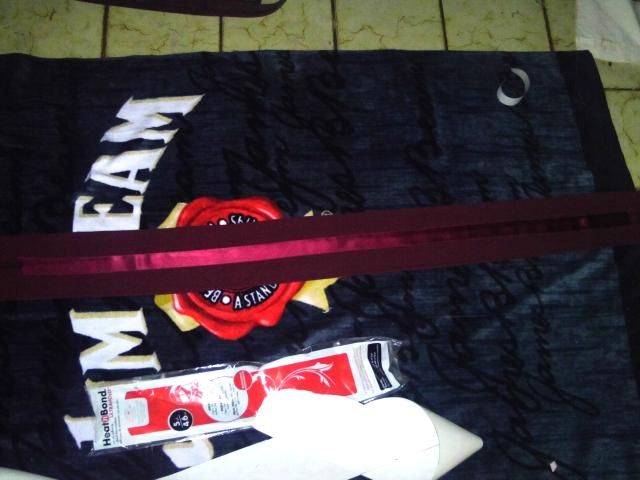
It is burgundy velvet, the flash seems to be making it a lot shinier
Re: Q's ROTJ Build Begins
Posted: Thu Mar 06, 2014 12:18 am
by stripes
The best bet is photos taken in natural light without a flash. You also have to remember that velvet has a grain to it and will appear much shinier one way than it does the other.
Re: Q's ROTJ Build Begins
Posted: Thu Mar 06, 2014 12:22 am
by gmrhodes13
stripes wrote:The best bet is photos taken in natural light without a flash. You also have to remember that velvet has a grain to it and will appear much shinier one way than it does the other.
Natural light photo's inbound

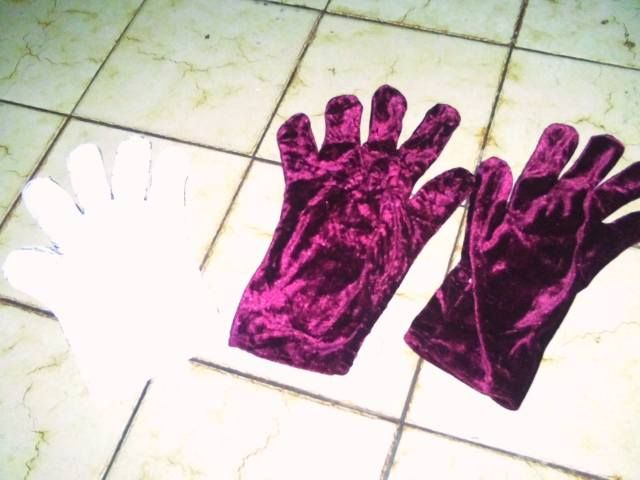
I'm second guessing the fabric now, even though it came from the velvet section, they all seemed pretty shiny but now looking at my red velvet it doesn't have half the shine that the burgundy has, face palm, time to do another visit to the material shop I think.
Re: Q's ROTJ Build Begins
Posted: Thu Mar 06, 2014 4:37 am
by gmrhodes13
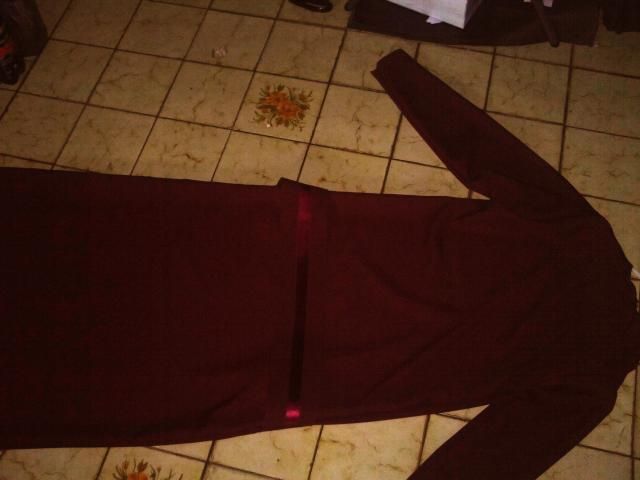
Red velvet does not have the same shine as the burgundy so I will begin cutting and sewing that until I can find a better replacement for the burgundy.
Re: Q's ROTJ Build Begins
Posted: Sat Mar 08, 2014 4:54 am
by gmrhodes13
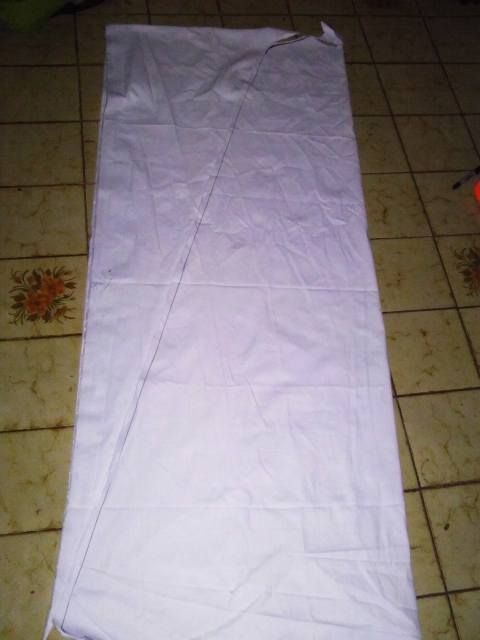
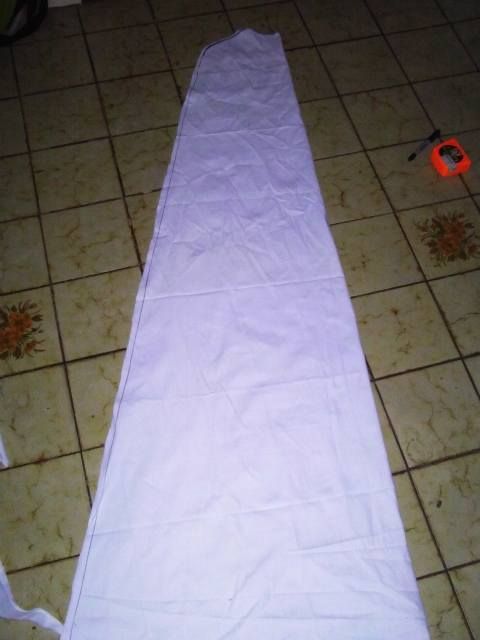
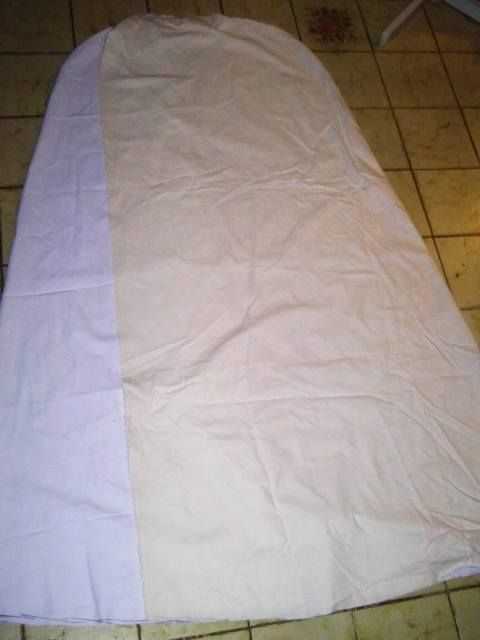
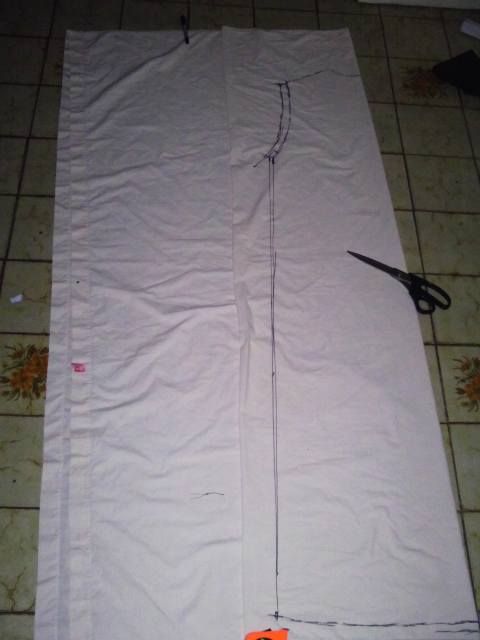
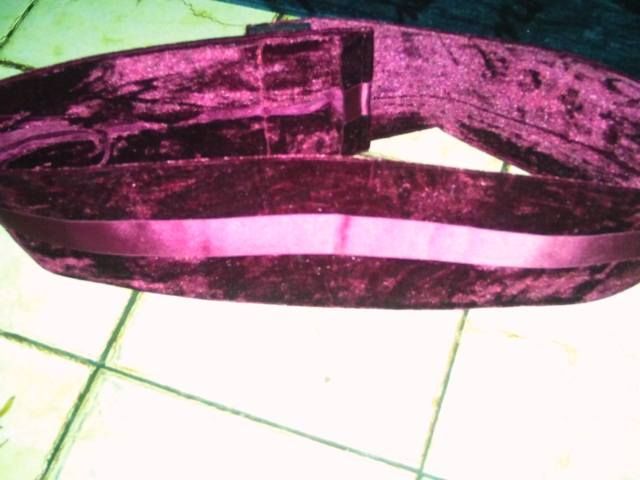
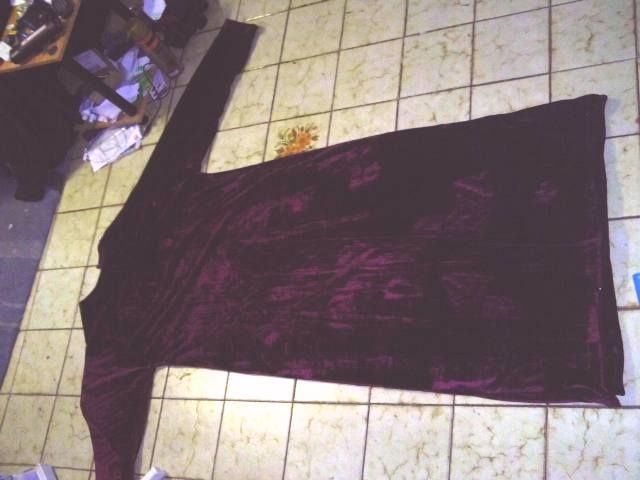
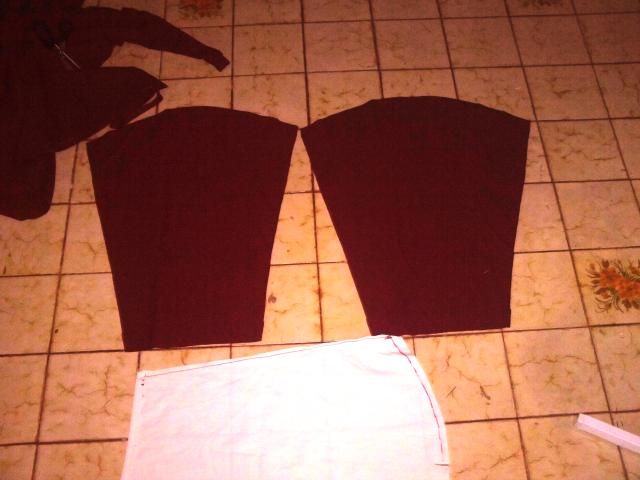
Overcast and wet outside so can't take any natural light photos, new material sourced and the sewing begins again.
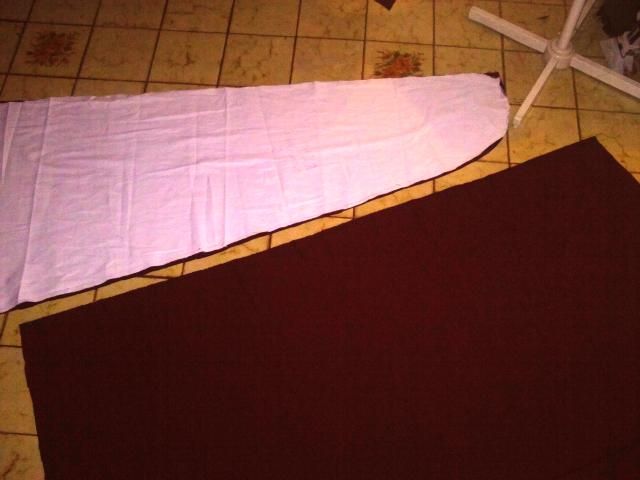
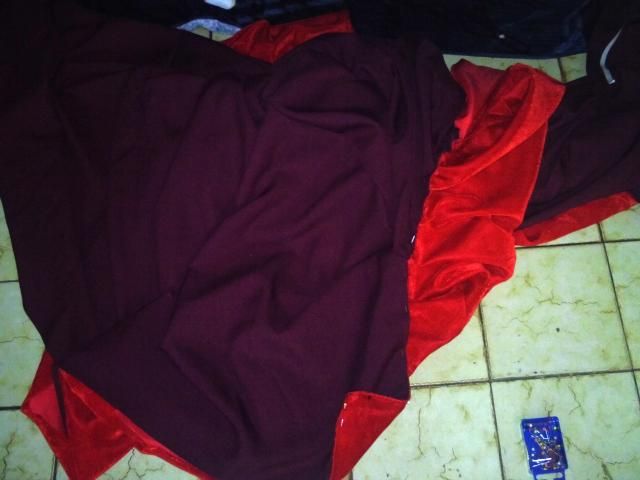
New sash completed
Inner robe nearly finished, just have to hem the bottom to the right length
Now on to the cloak inner, will have to wait for sewing, got a troop this afternoon and tomorrow

Re: Q's ROTJ Build Begins
Posted: Wed Mar 12, 2014 11:32 pm
by gmrhodes13
Well the box has arrived and I have just tried the bucket on, I by no means have a large head but this is how it sits.
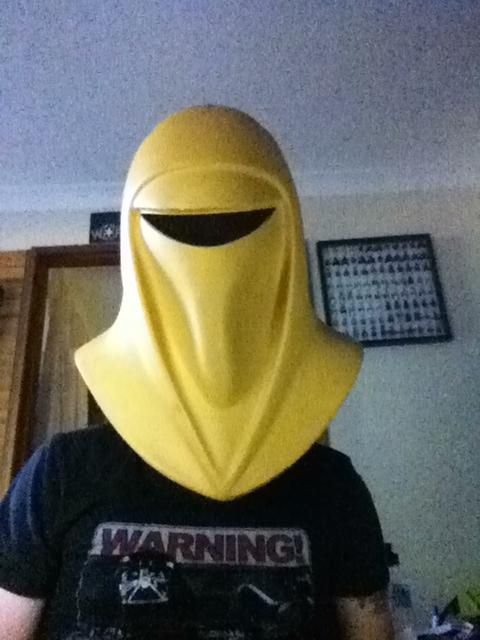
Lucky a member had left his bucket here for me to reference with my robes. After a lot of measuring I have found that all of the front and back measurements are exactly the same, it looks like an inch has been taken out of the sides.

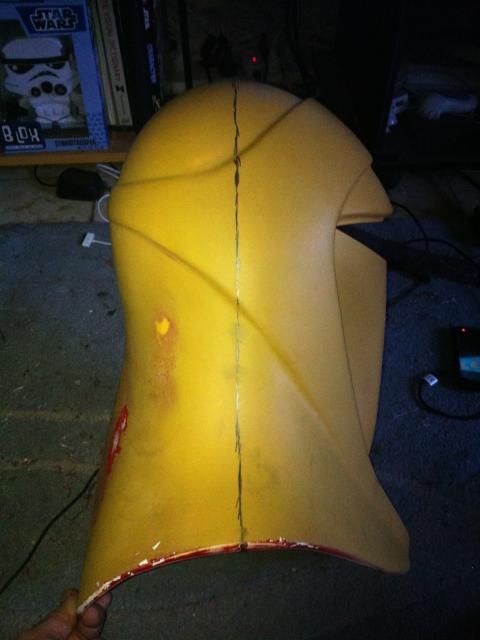
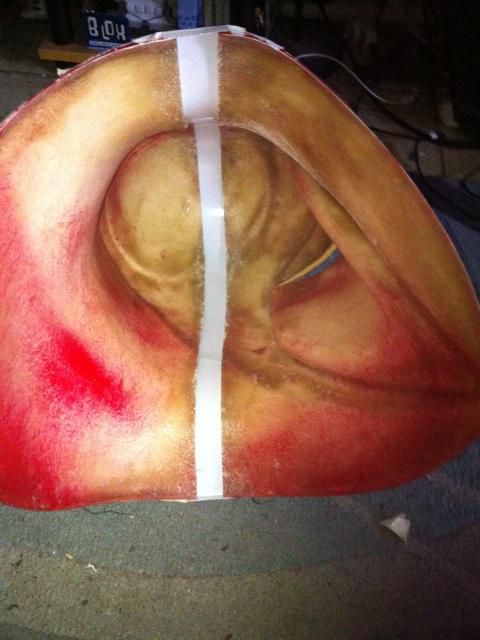
So after speaking with a fellow member who is a wizard with fibreglass I took to the bucket with my trusty dremel. Added some tape just to hold it in place for a trial fit and success it fits

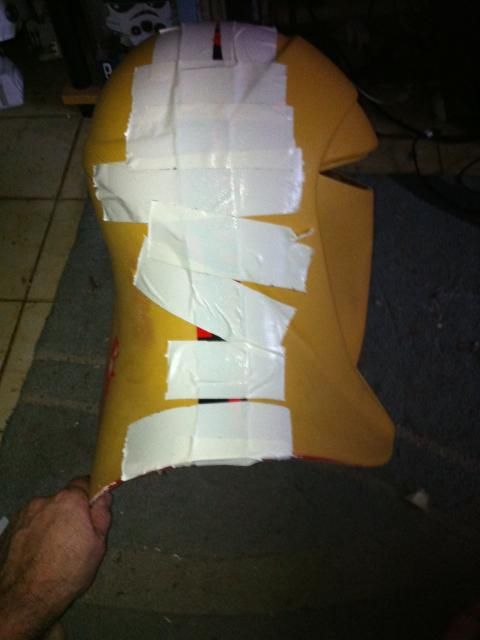
Having a build day on Sunday so hopefully we will get the figreglassing done then it will just be a little bondo and shaping, I've worked on vehicles before so this won't be a problem.
Re: Q's ROTJ Build Begins
Posted: Thu Mar 13, 2014 9:47 pm
by gmrhodes13
Cover the gap with strips of plastic.
Gaffa tape to hold everything in place, next will be fibreglass the gap.
Re: Q's ROTJ Build Begins
Posted: Thu Mar 13, 2014 11:59 pm
by LeMaxim
Hi Glen,
Ambitious project. I look forward to follow your build.
Bold move with the helmet resizing. I would have prayed every millimeter of that cut. And probably only dare to have one eye open at a time (which would be a problem in it self).
Looks like you managed famously.

This will be a very educational build for me.
Thanks for sharing the progress.
///Maxim