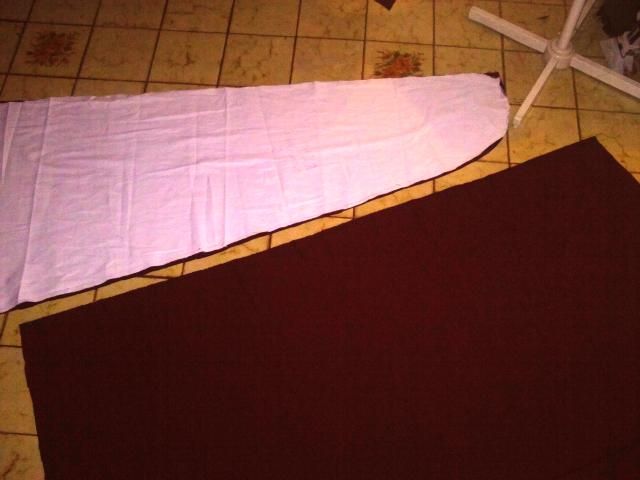
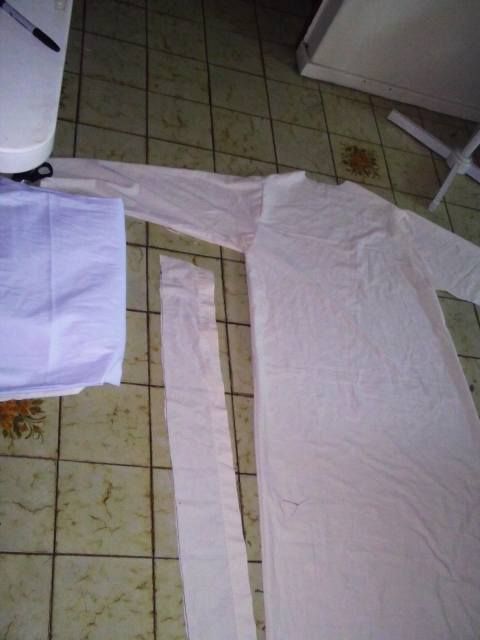
First making the test templates for the inner, outer robes, sash and gloves
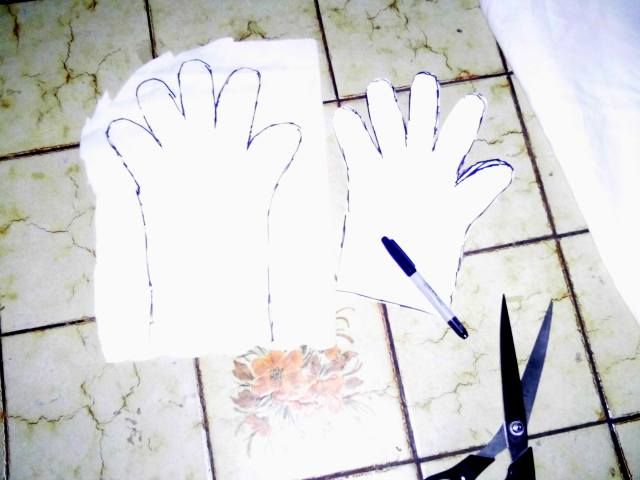
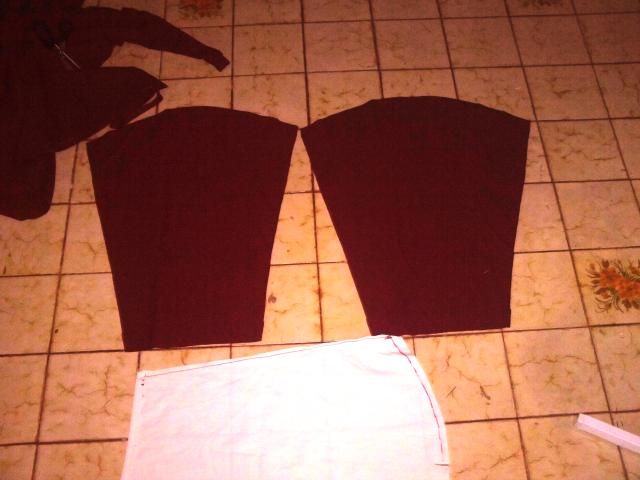
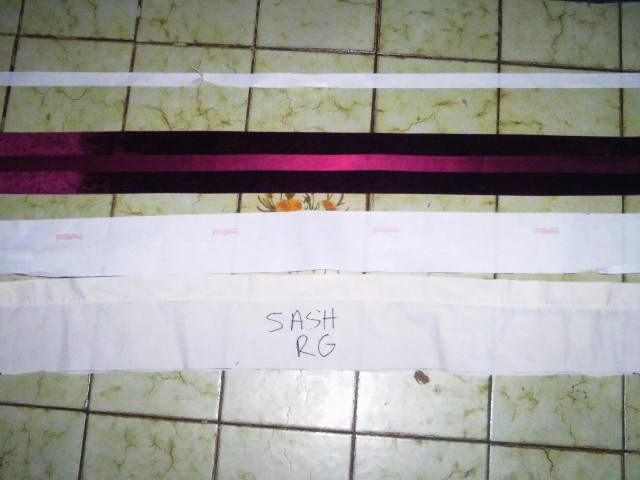
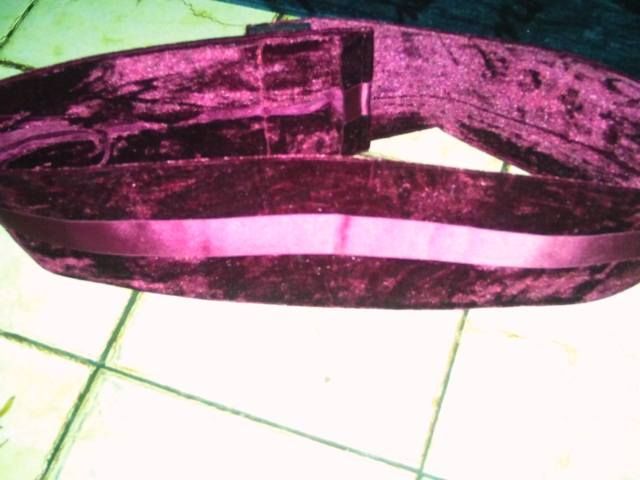
Started with the small pieces, wasn't sure how the velvet would be to sew

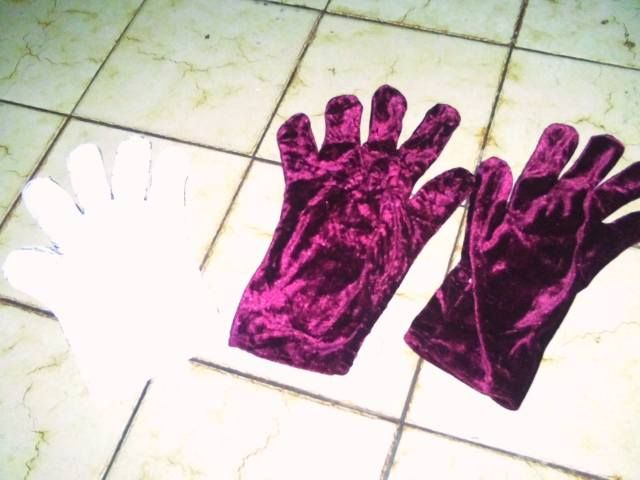
No a trial of some gloves
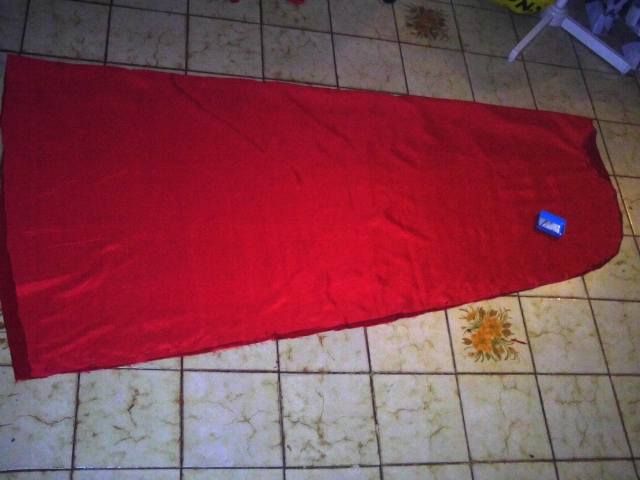
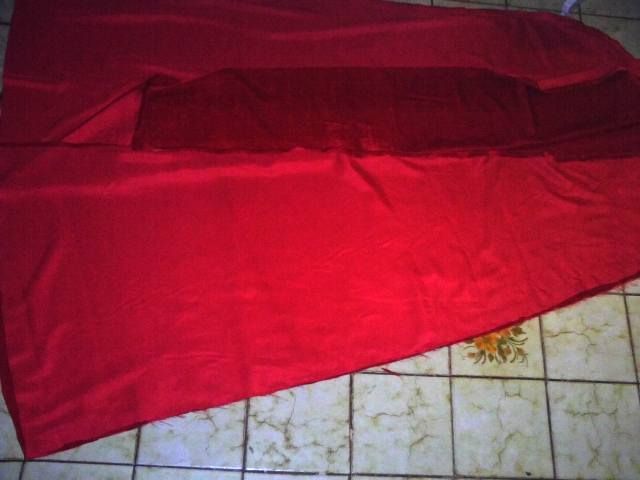
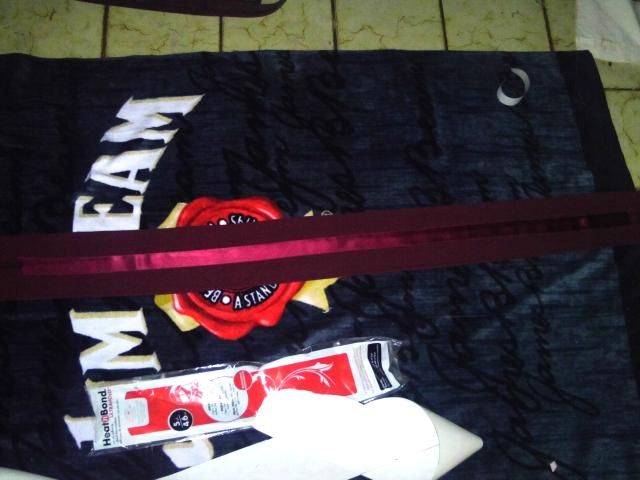
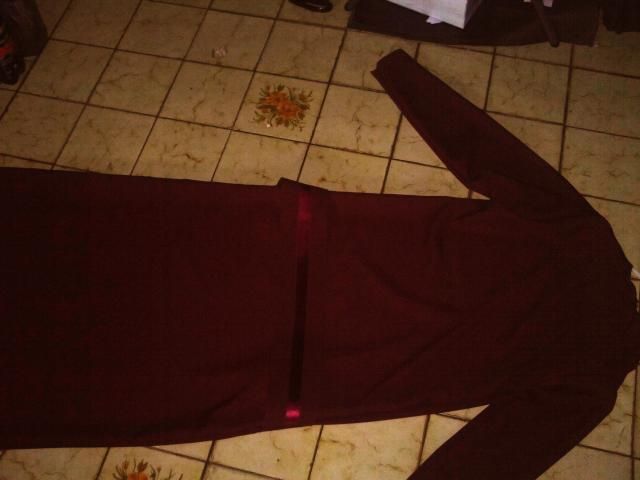
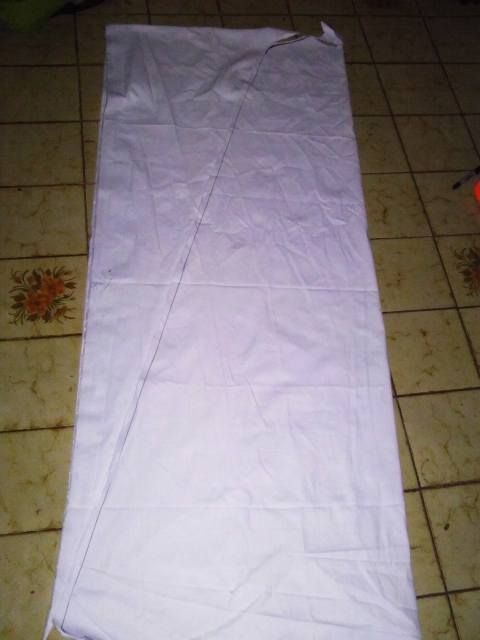
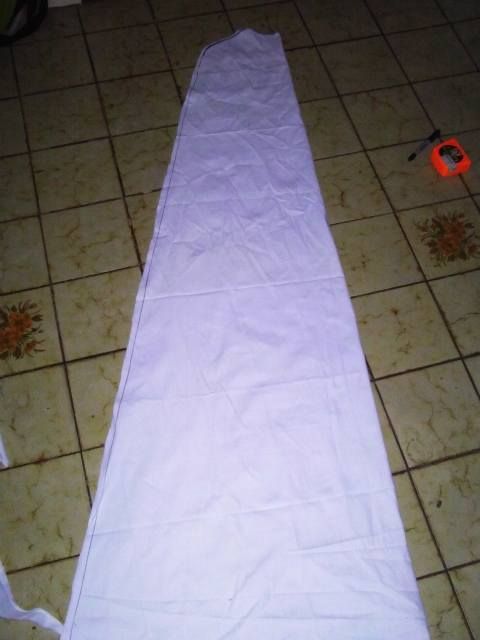
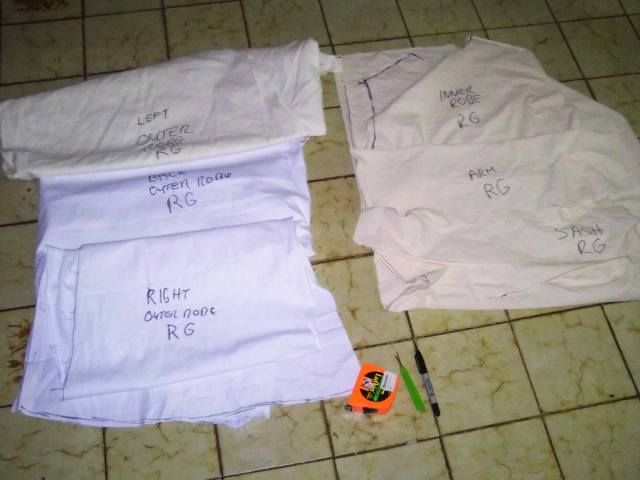
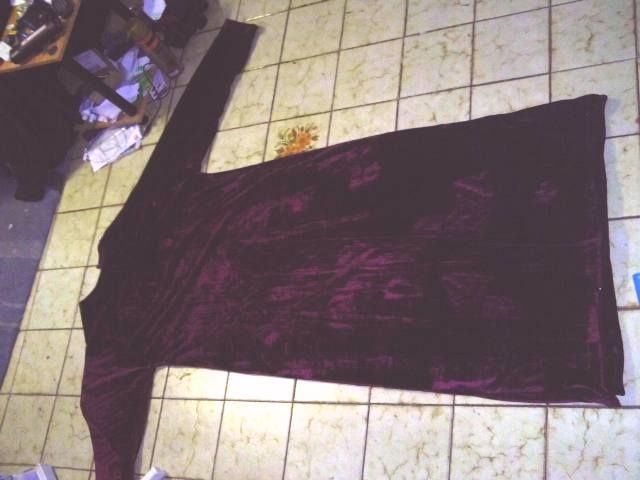
Time to get serious with the robes
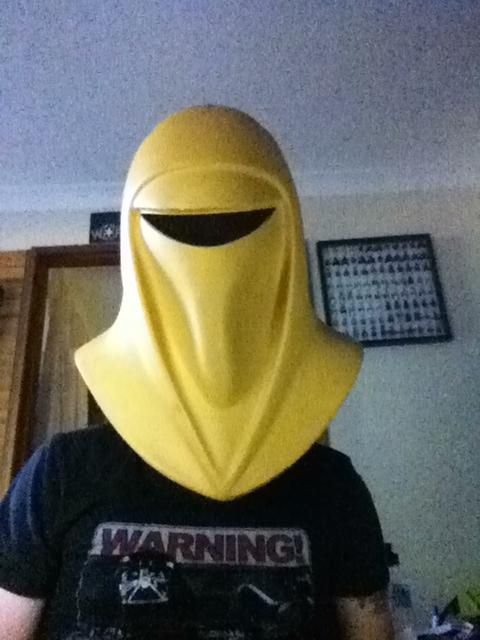
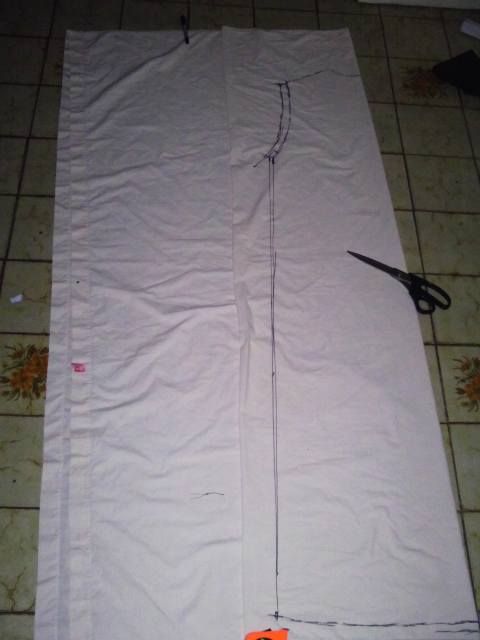
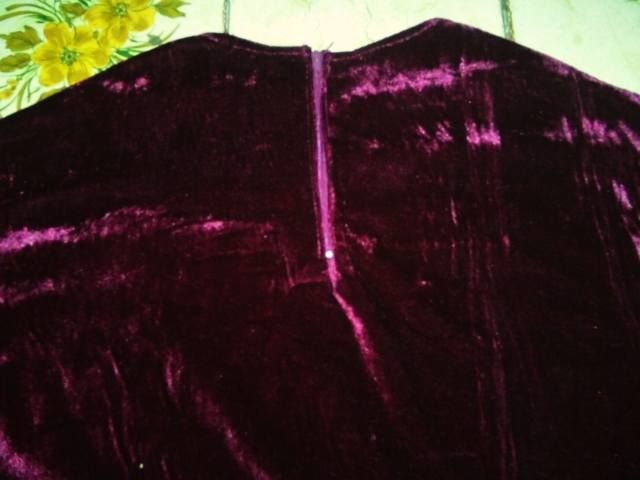
Added a zip on the back of the neck.
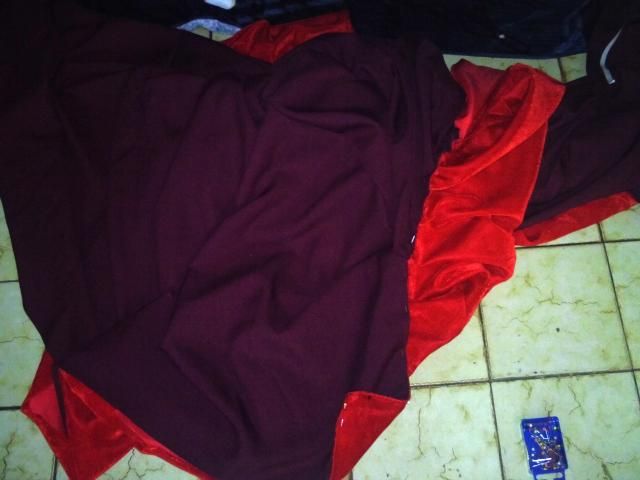
I will leave the hem until I have the outer robes sitting right, which shall be next