Page 2 of 5
Re: Pben' s Royal Guard TFU WIP
Posted: Wed Mar 16, 2016 4:38 pm
by LuciousTalvloinne
Slow and steady. What grade of of sanding do you plan on using?
Re: Pben' s Royal Guard TFU WIP
Posted: Wed Mar 16, 2016 5:46 pm
by pben
LuciousTalvloinne wrote:Slow and steady. What grade of of sanding do you plan on using?
I've bought 180 but I'm affraid that will need a bigger number...Am I right?
Re: Pben' s Royal Guard TFU WIP
Posted: Wed Mar 16, 2016 6:57 pm
by Sascha_Wilsing
The bigger the number the smaller the scratches.
It is better to get a finer finish.
Re: Pben' s Royal Guard TFU WIP
Posted: Thu Mar 17, 2016 1:20 pm
by pben
Re: Pben' s Royal Guard TFU WIP
Posted: Thu Mar 31, 2016 7:08 pm
by pben
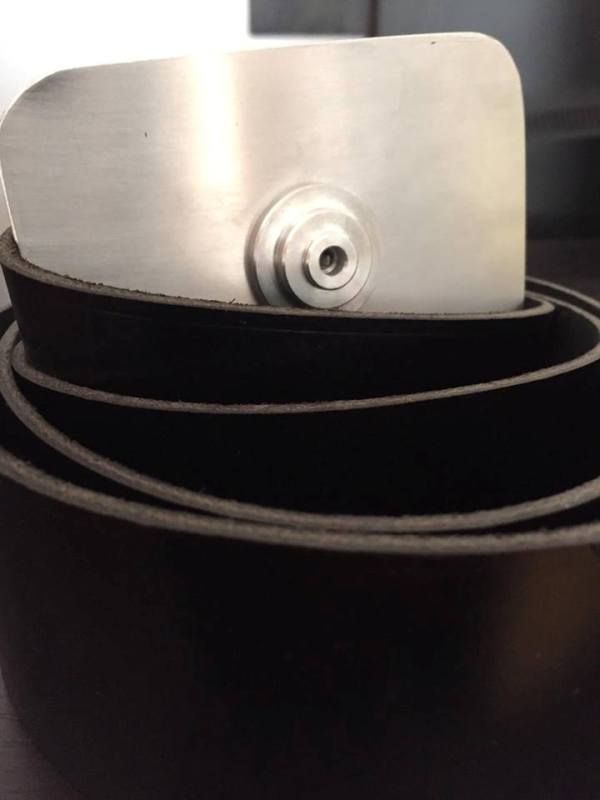
Belt arrived from SBR Props. Very, very happy! Great job from my Spanish friends.
Re: Pben' s Royal Guard TFU WIP
Posted: Fri Apr 01, 2016 6:27 am
by Sascha_Wilsing
Realy nice.
Good to see you are getting all things together.
Re: Pben' s Royal Guard TFU WIP
Posted: Tue Apr 05, 2016 12:04 pm
by pben
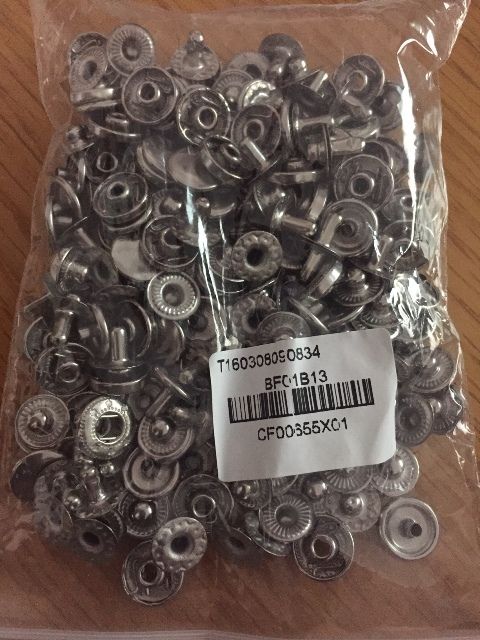
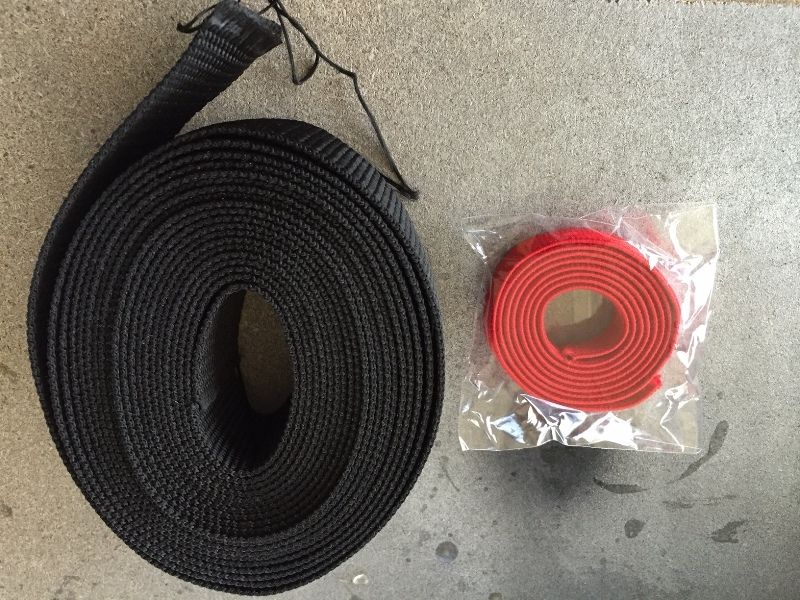
Getting all the stuff needed: 10mm Snap buttons, polypropylene webbing to connect back, chest and ab plate and 15mm red elastic band to secure the chins.
Re: Pben' s Royal Guard TFU WIP
Posted: Tue Apr 05, 2016 12:06 pm
by pben
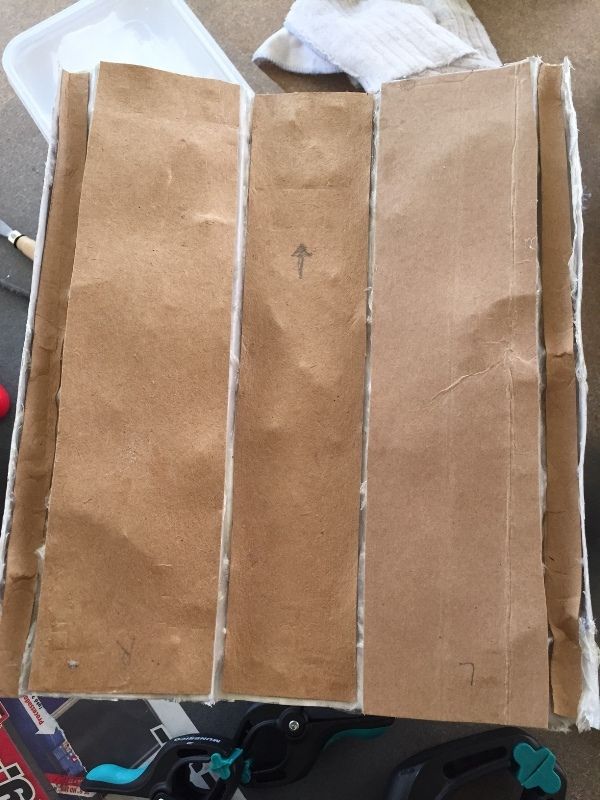
I've also made another layer of resin and fiberglass to these armor parts which I felt would need more toughness:

The ab plate was covered by cardboard on top of two layers of resin and two of fiberglass and then I applied another coat of resin.
Re: Pben' s Royal Guard TFU WIP
Posted: Wed Apr 13, 2016 10:25 am
by pben
Ok enough of resin and fiberglass. Time to apply putty!
Re: Pben' s Royal Guard TFU WIP
Posted: Wed Apr 27, 2016 4:31 pm
by pben


