Page 2 of 3
Re: Pepakura helmet build
Posted: Thu Feb 25, 2016 3:59 am
by LuciousTalvloinne
Yes that helmet style can be used for ROTS guards. The detachment has made it a rule for you to have it cut that way to beapproved on the helmet style. The ROTS approval is more based on the Robe style. It wasn't until recent years that they separated the Guards listing into ROTJ AOTC or ROTS. It used to be just Royal Guard.
Re: Pepakura helmet build
Posted: Thu Feb 25, 2016 4:33 am
by Drakus Cin'Ciri
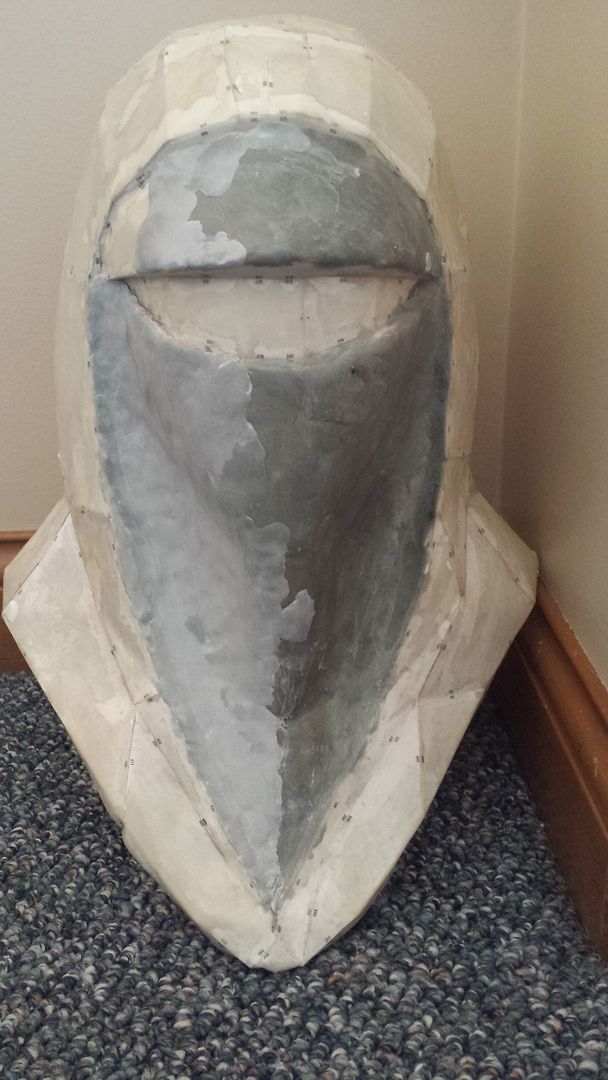
Well since the robes I already have are ROTS robes I will plan on moving forward with the current shape (smoothed of course) unless there are any objections to this.
Guess it would've helped to mention this was a ROTS from the start

Re: Pepakura helmet build
Posted: Thu Feb 25, 2016 5:30 am
by LuciousTalvloinne
We are all creatures of human natures. Its nothing to worry about.
Re: Pepakura helmet build
Posted: Thu Feb 25, 2016 1:11 pm
by Sascha_Wilsing
No problem Drakus.
For RotS it will be fine.
Re: Pepakura helmet build
Posted: Fri Feb 26, 2016 5:49 pm
by Drakus Cin'Ciri
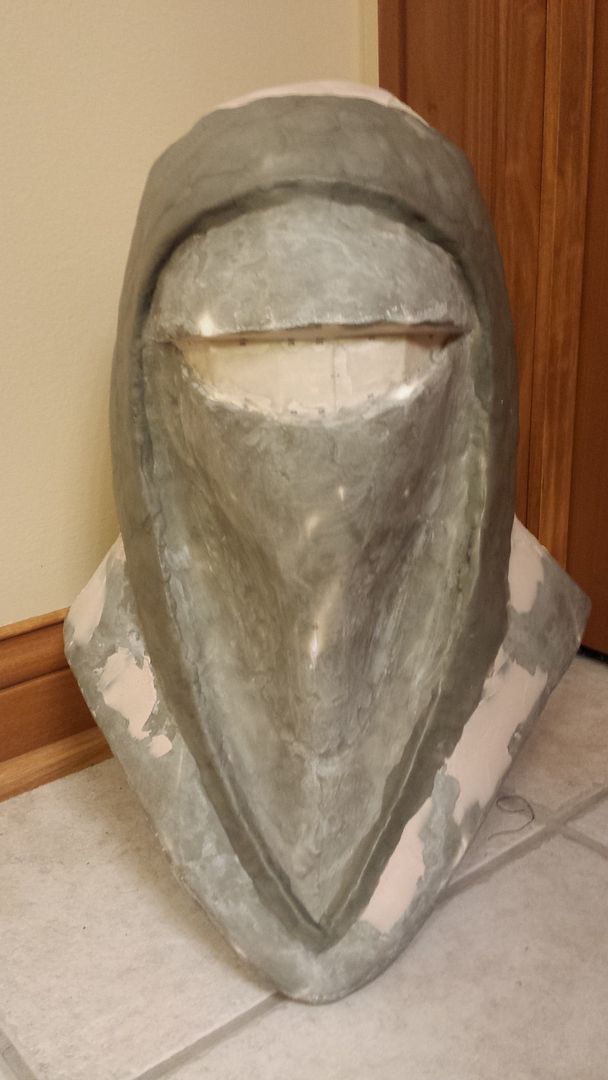
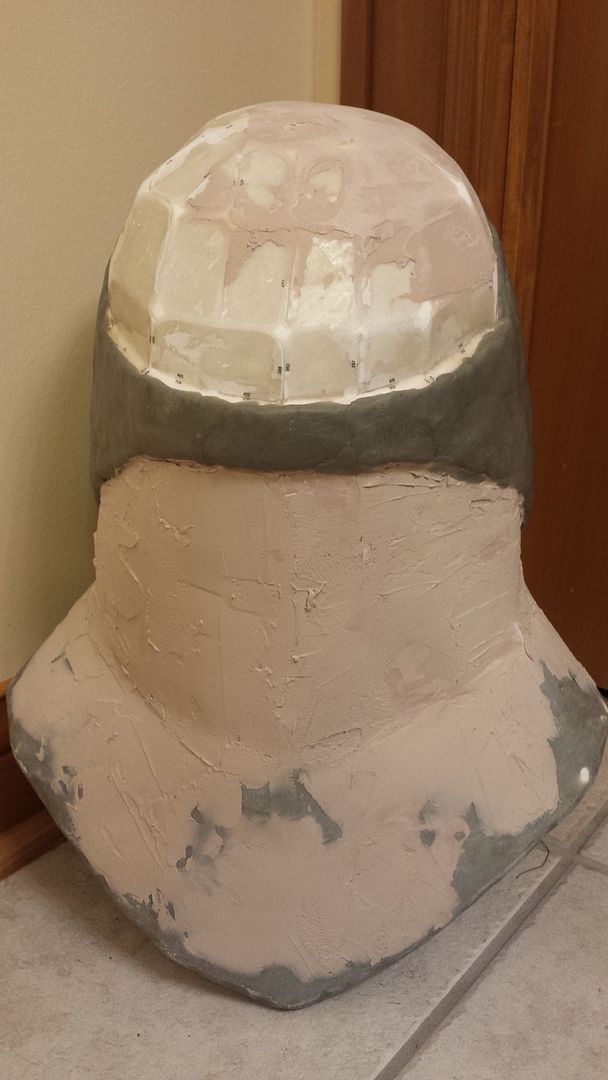
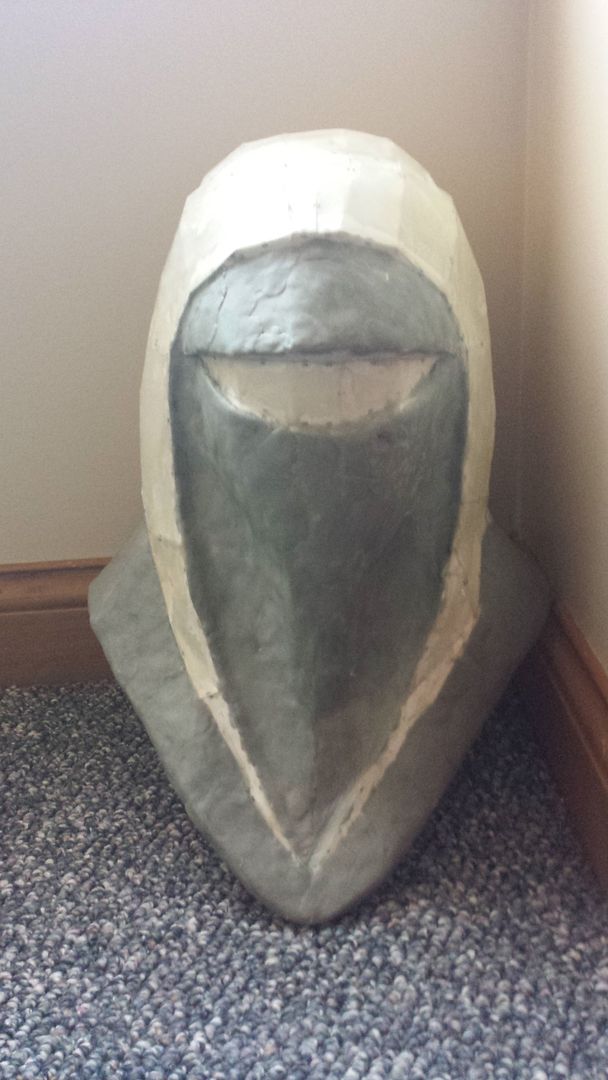
Slowly but surely making progress. Added more apoxie sculpt to the front. Hoping to make a lot of progress smoothing it this weekend
Re: Pepakura helmet build
Posted: Sat Feb 27, 2016 7:38 pm
by Drakus Cin'Ciri
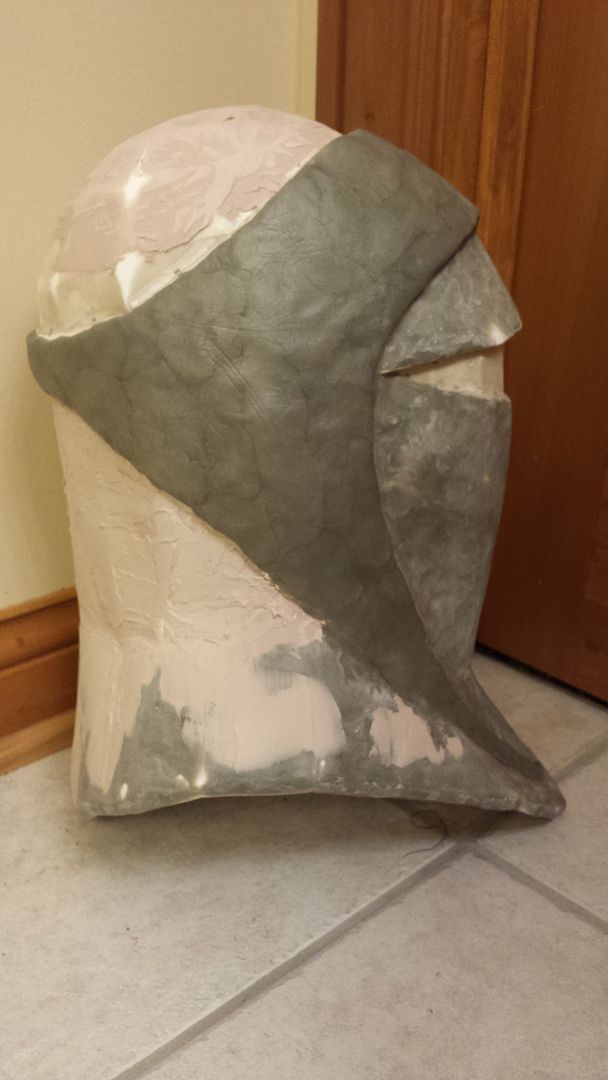
More apoxie sculpt added and did a bit of sanding.
Re: Pepakura helmet build
Posted: Sat Feb 27, 2016 9:43 pm
by LuciousTalvloinne
Slow and steady. What grit sanding you going to use?
Re: Pepakura helmet build
Posted: Sat Feb 27, 2016 9:45 pm
by Drakus Cin'Ciri
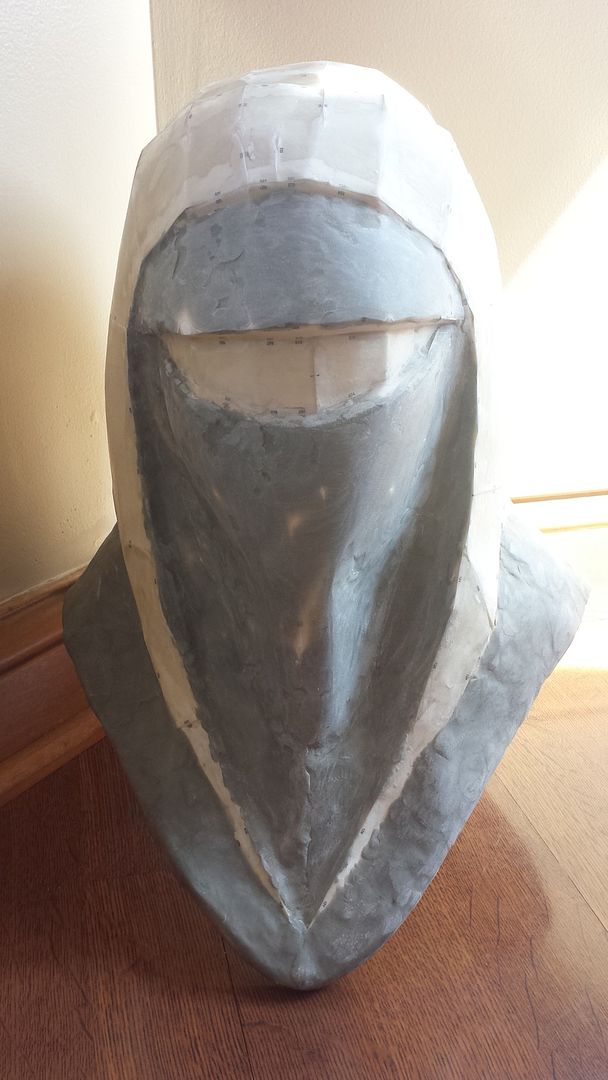
Currently using 120 and I will work my way up to higher grits to remove scratch marks from the 120 once the shaping is done
Re: Pepakura helmet build
Posted: Mon Feb 29, 2016 2:58 pm
by Drakus Cin'Ciri
Re: Pepakura helmet build
Posted: Mon Feb 29, 2016 5:47 pm
by Sascha_Wilsing
Thumbs up.
Great job so far.