Page 2 of 4
Re: Q's ROTJ Build Begins
Posted: Fri Mar 14, 2014 4:25 am
by DarthShu
LeMaxim wrote:Hi Glen,
Ambitious project. I look forward to follow your build.
Bold move with the helmet resizing. I would have prayed every millimeter of that cut. And probably only dare to have one eye open at a time (which would be a problem in it self).
Looks like you managed famously.

This will be a very educational build for me.
Thanks for sharing the progress.
///Maxim
I second that thought. I would have been a nervous wreck cutting into the helmet! Nice job!
Darth Shu

Re: Q's ROTJ Build Begins
Posted: Fri Mar 14, 2014 9:23 am
by gmrhodes13
Thanks guys, I'm pretty handy with tools and building, firbreglass is one of the few things I have not dealt with much over the years, hence my friend coming to help on the weekend, shouldn't be too much work, then I just have to add some bondo, I've panel beaten cars in the past so it should just be a walk in the park :;)
Re: Q's ROTJ Build Begins
Posted: Sat Mar 15, 2014 12:23 am
by gmrhodes13
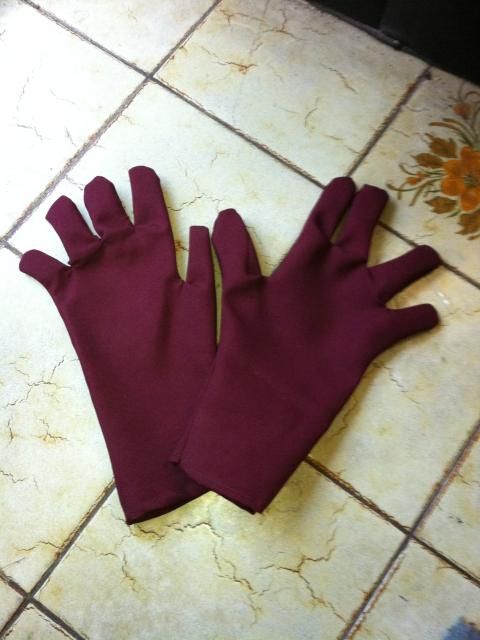
Gloves done
Re: Q's ROTJ Build Begins
Posted: Sun Mar 16, 2014 12:49 am
by gmrhodes13
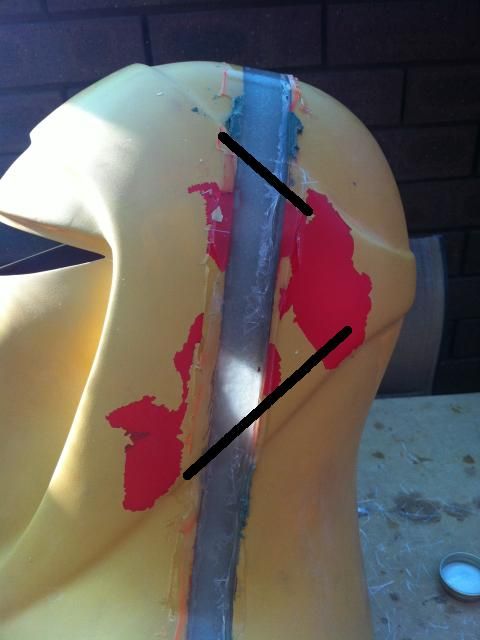
Fibreglass applied

Now to add some more fibreglass to the inside of the back ridges of the rear sides as the taper will need to be re-aligned due to the added space.
Re: Q's ROTJ Build Begins
Posted: Sun Mar 16, 2014 3:47 pm
by Toddo
Raw deal on the bucket sizing, but you are undeterred Glen. I was a nervous wreck just trimming my Shadow Guard buket. Keep rocking!
Re: Q's ROTJ Build Begins
Posted: Mon Mar 17, 2014 12:00 pm
by gmrhodes13
Toddo wrote:Raw deal on the bucket sizing, but you are undeterred Glen. I was a nervous wreck just trimming my Shadow Guard buket. Keep rocking!
Thanks, not much scares me lol
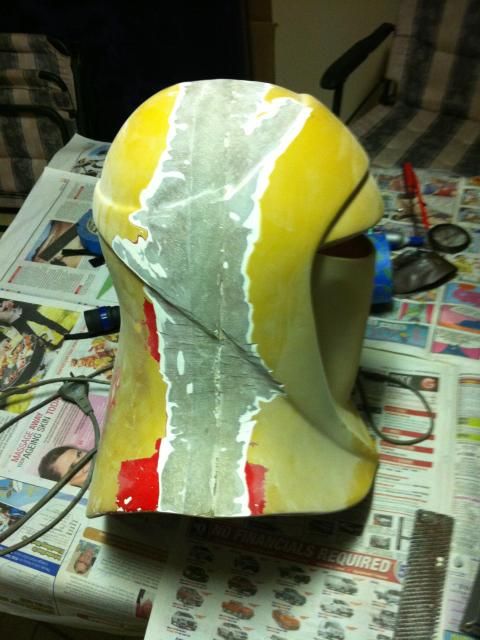
Not much more done, just ground down the extra fibreglass and prepped the area to have filler (bondo) applied
Re: Q's ROTJ Build Begins
Posted: Mon Mar 17, 2014 11:24 pm
by gmrhodes13
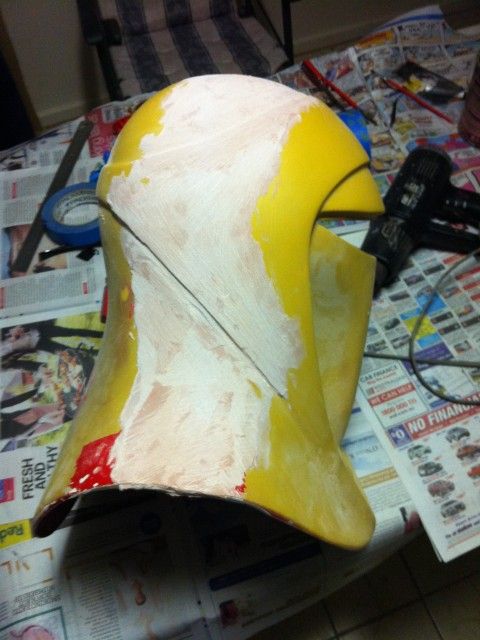
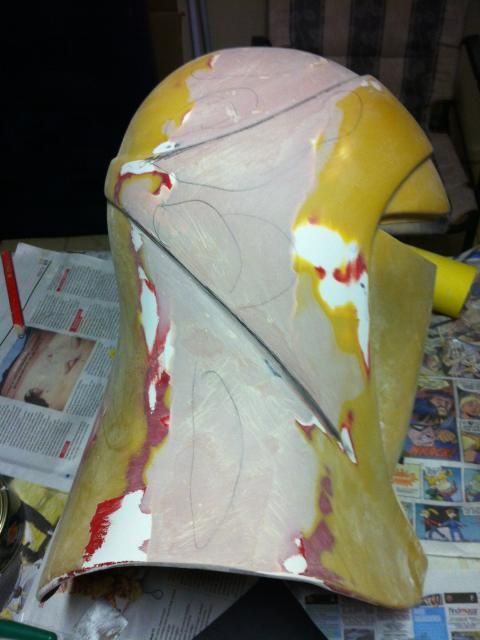
little filler (bondo) added, just getting the lines right.
Re: Q's ROTJ Build Begins
Posted: Tue Mar 18, 2014 2:30 am
by LeMaxim
Looking good.
Really envious of you guys with skills, tools and a workshop.
It's also inspirational so please keep the updates coming.

Re: Q's ROTJ Build Begins
Posted: Sun Mar 23, 2014 9:58 pm
by gmrhodes13
Lines are just about right, a few low spots to go over
Re: Q's ROTJ Build Begins
Posted: Sun Jul 27, 2014 9:16 am
by gmrhodes13
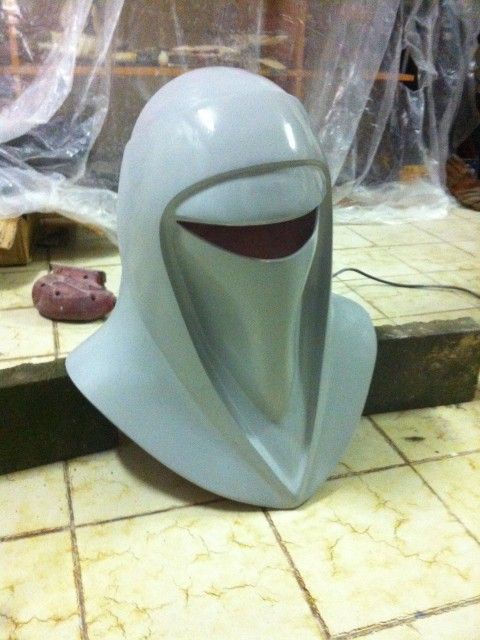
This one has been a long time coming, finally finished with all the filler work but the bucket has turned out too heavy and my shot neck won't be able to carry the weight, I decided to totally rework the bucket so I it all flowed better and emphasized all of the edges and vac form a new one, then cut it in half and added some internal supports.
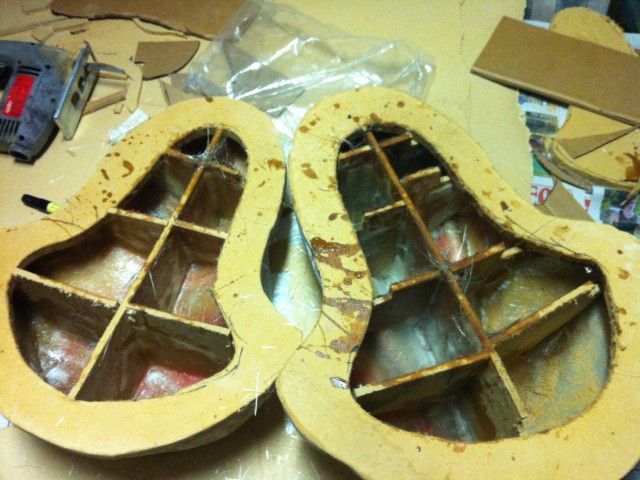
Here are the two halves ready to vac form.
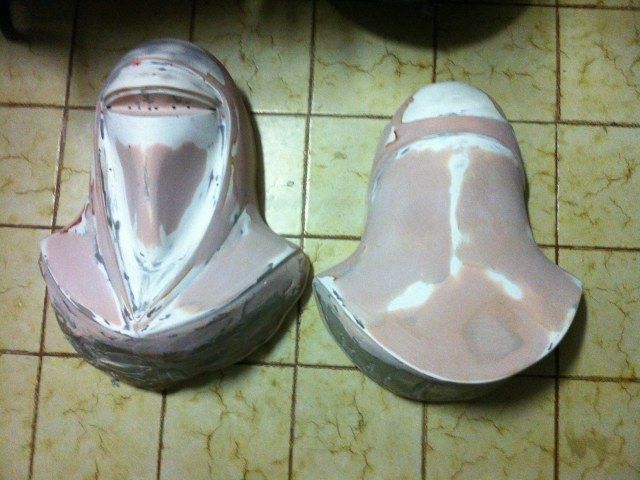
Here are the vac formed pieces
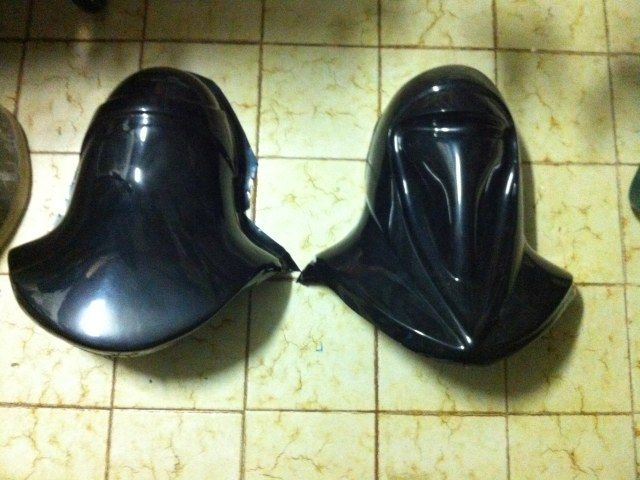
Next step will be trim the two halves, join them and add some bondo to the joint.