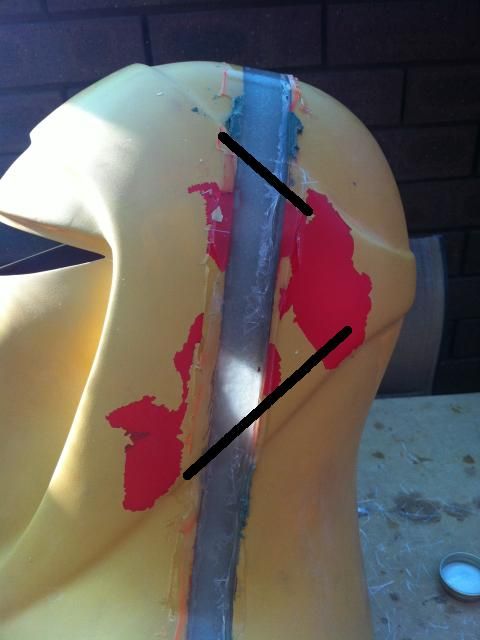
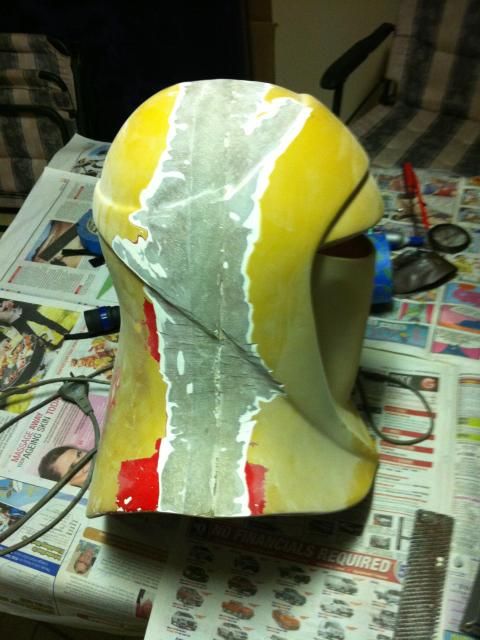
I second that thought. I would have been a nervous wreck cutting into the helmet! Nice job!LeMaxim wrote:Hi Glen,
Ambitious project. I look forward to follow your build.
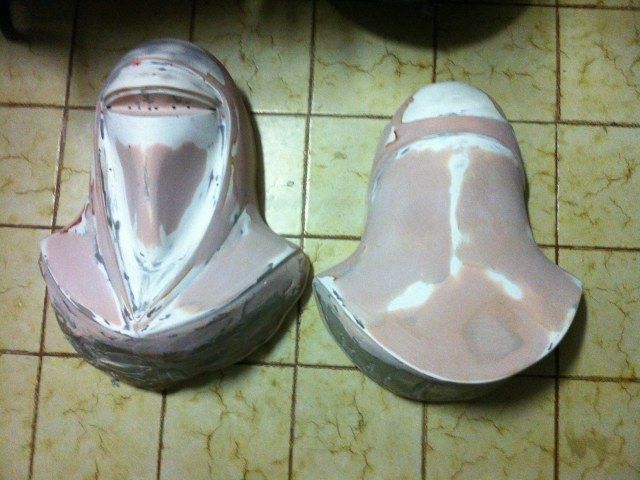
Bold move with the helmet resizing. I would have prayed every millimeter of that cut. And probably only dare to have one eye open at a time (which would be a problem in it self).
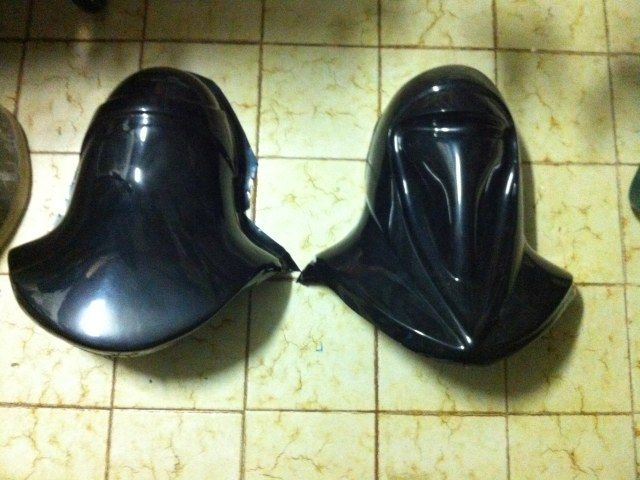
Looks like you managed famously.
This will be a very educational build for me.
Thanks for sharing the progress.
///Maxim
Darth Shu