
 Untitled by Ian Naden, on Flickr
Used some aluminium tube with the same inner diameter as the outer diameter of the saber. Well close.... lots of filing and sanding of the saber. Above pics shows the grinding marks and tapping holes to go through the printed parts into the saber to hold the saber in place, and also the blade in place.
Relocated the switch to the 3D part.
 Untitled by Ian Naden, on Flickr
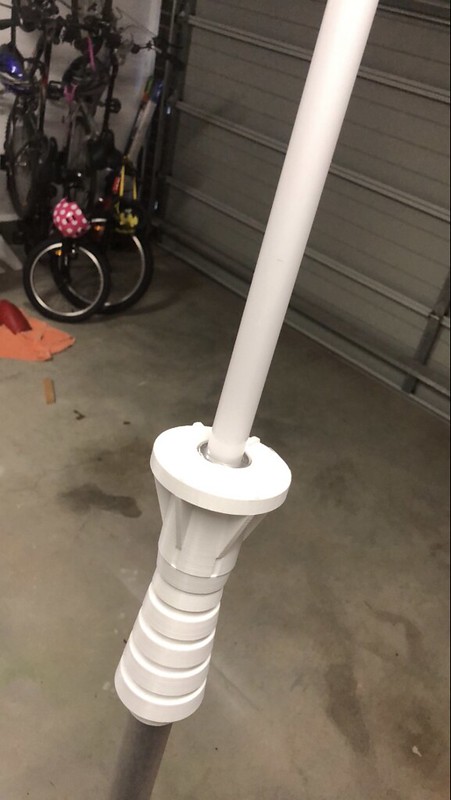 Untitled by Ian Naden, on Flickr
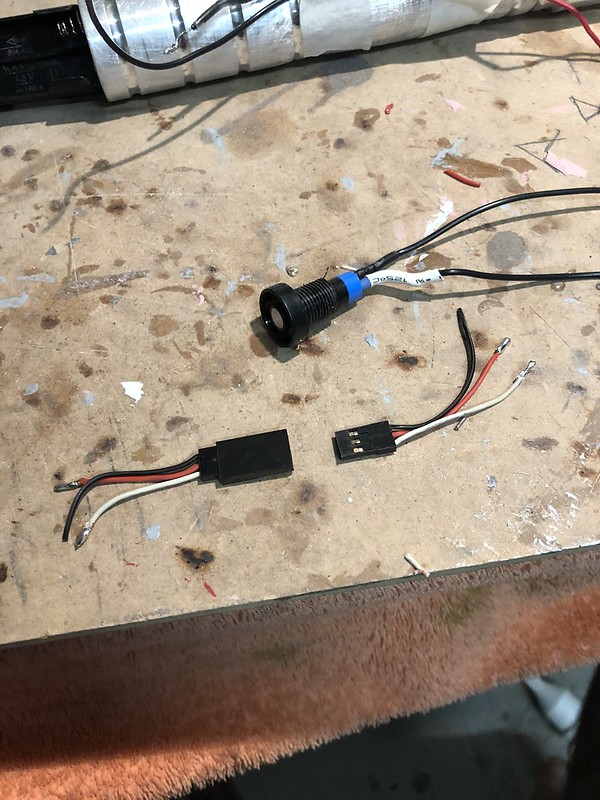
Re-wired the saber, so the switch was removable for when I need to remove the whole saber for battery replacement.
 Untitled by Ian Naden, on Flickr
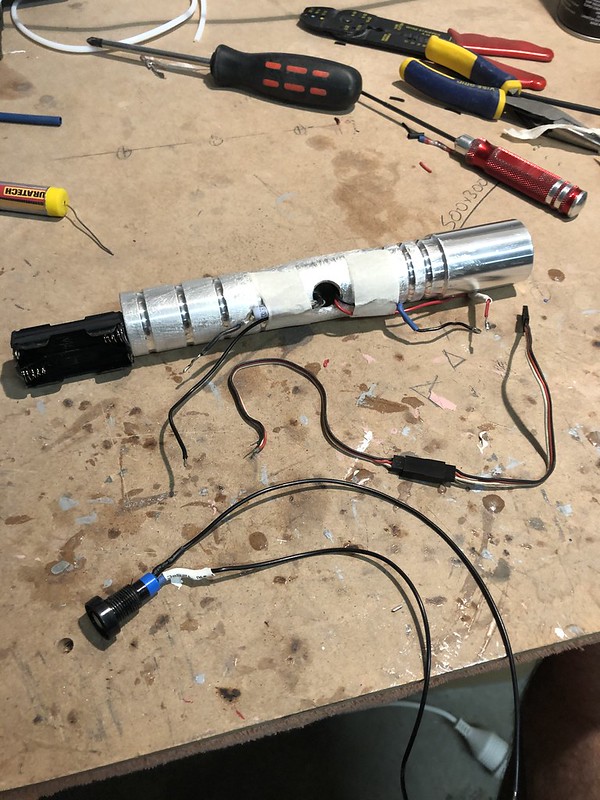 Untitled by Ian Naden, on Flickr
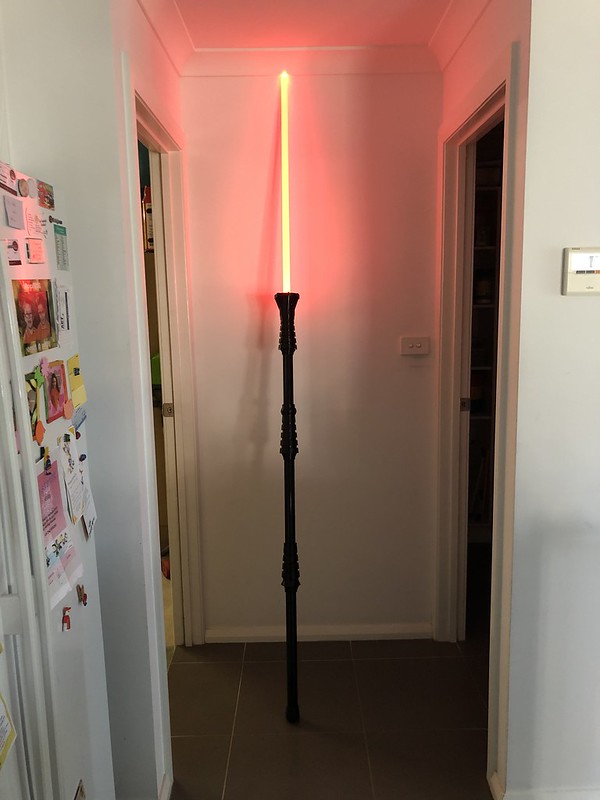
Put it all back together. Grub screws to hold the saber in place, and blade in place. A few coats of gloss black and we're done.
 Untitled by Ian Naden, on Flickr
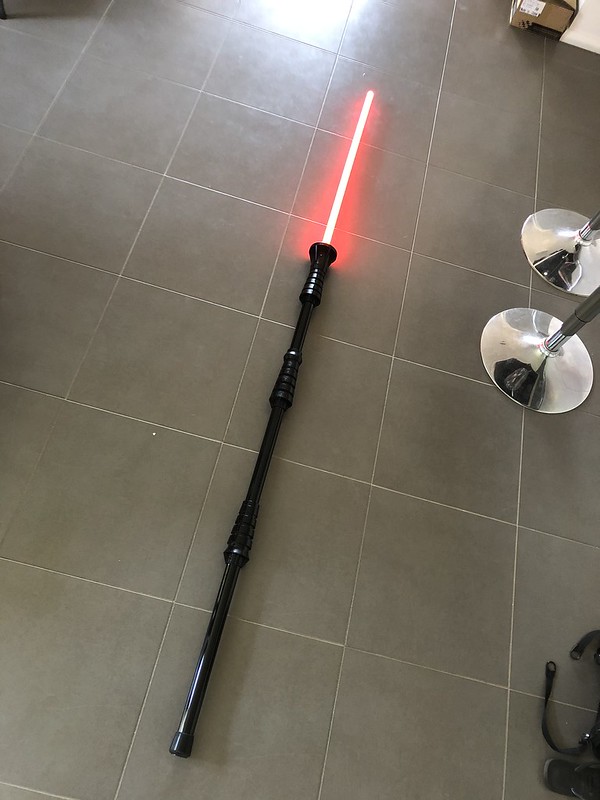 Untitled by Ian Naden, on Flickr
 Untitled by Ian Naden, on Flickr
And a rubber stopper on the bottom to protect the paint, and floors of where I go.
 Untitled by Ian Naden, on Flickr